Apple has streamlined browsing and storing bookmarks in Safari on macOS with the introduction of Profiles. Profiles allows users to organise and store their tabs under dedicated profiles, allowing for a less cluttered and more organised browsing experience.
You can keep your work tabs separate from your personal tabs or even just have a separate Profile for planning a big trip. Each profile has its own separate tabs, history, cookies, data and favourites.
Keep reading to learn how to set up your own profile in Safari on macOS.
What you’ll need:
- A Mac running on macOS Sonoma
- Safari running on version 17 and above
The short version:
- Open Safari
- Select Safari in the top panel
- On the Safari menu, select Create Profile…
- Select Start Using Profiles
- Fill in the profile information
- Choose Create Profile
-
Step
1Open the Safari browser
Make sure Safari is running on version 17. To check this, visit About Safari on the Safari menu. If it’s not running on version 17 then you’ll need to upgrade your Mac’s software.

-
Step
2Select Safari in the top panel

Doing this will display the Safari menu, which includes all its Settings.

-
Step
3
Selecting Create Profile… will bring up the Profiles section pop-up.

-
Step
4Select Start Using Profiles

If you have never set up a profile before then you’ll see this screen. If you have already set up Profiles then they’ll be listed here for you to amend accordingly.

-
Step
5Fill in the profile information

Personalise all the information including the name of your profile, icon, colour and whether you want to create a new favourites folder or use an existing one.

-
Step
6Choose Create Profile

Once filled in, select Create Profile which will take you straight to your Safari start page.

Troubleshooting
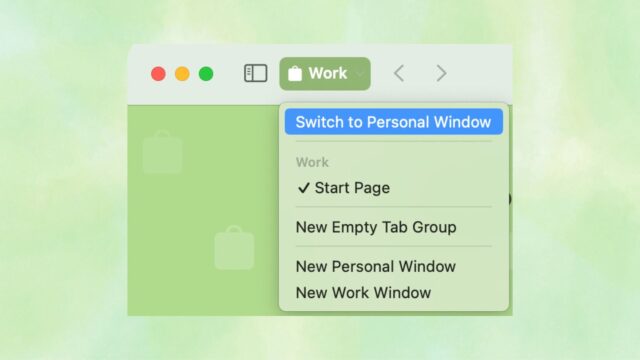
As shown here, select the Profile name at the top left of Safari. Then tap Switch to (name) Window.
Yes, your profiles should sync automatically between all your devices that are signed in with the same Apple ID, have Safari turned on in the iCloud and are using Safari 17 or later.


