Apple’s iPhone 15 lineup is finally here. Whether you’re buying your first iPhone or upgrading an old one, you may be wondering how to make the most of your new hardware, especially now that Apple has finally transitioned from Lightning to USB-C. We’ll cover that topic and more in our roster of the best iPhone 15 tips.
iPhone 15 tips and tricks
1. Get a protective case (and maybe AppleCare Plus)
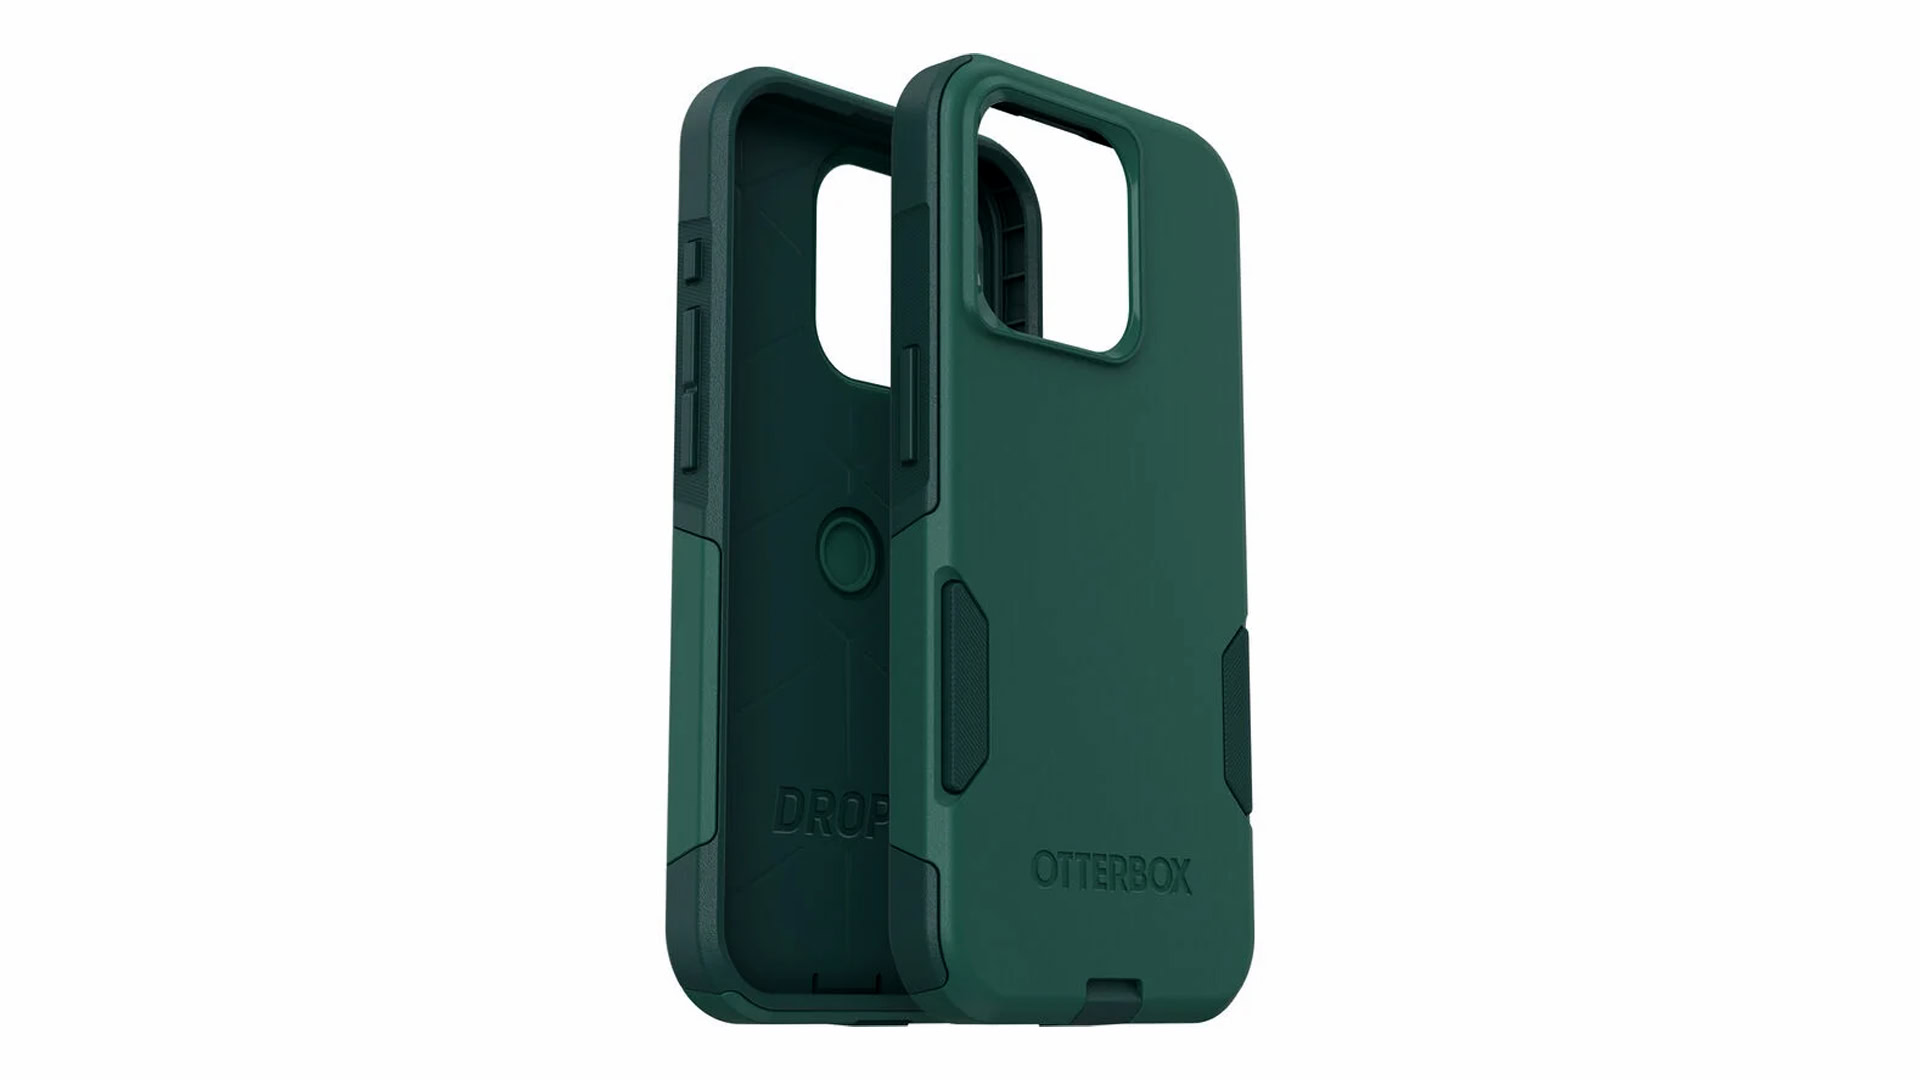
Apple likes to brag about the durability of its phones, particularly its Ceramic Shield glass, and the titanium rails on the 15 Pro and Pro Max. But here’s the reality the company sidesteps: short of something bulletproof, glass is still glass, and every iPhone 15 has glass on both sides. If you drop a naked iPhone from 6 feet onto concrete or tile, don’t be surprised if it ends up covered in cracks.
At a minimum we’d recommend buying a MagSafe-compatible case that covers every edge and sports a raised lip around the display — that alone will cover most situations. If you want to fully protect your $799-plus investment, we’d suggest stepping up to a rugged case from a brand like OtterBox, Catalyst, or Griffin. The designs aren’t always sexy, but you won’t mind that after you drop your iPhone or accidentally bang it against a wall or piece of equipment. Check out some of the best launch-day iPhone 15 Pro and 15 Pro Max cases.
A rugged case can often be enough, but some people like to add screen protectors, and the diehard will go for fully waterproof cases. The latter are hard to come by, and can potentially reduce the responsiveness of touch controls, but may also be lifesavers if you like to swim, hike, camp, or go boating.
If you’ve got cash to spare and you know you’re prone to accidents, it’s likely worth signing up for AppleCare Plus. That extends your warranty and lowers the cost of repairs, also offering theft and loss coverage. Some people even choose AppleCare instead of a case, but that may be overconfident — your iPhone needs to survive long enough to make it back to the Apple Store.
2. Get a MagSafe charging stand and/or battery pack
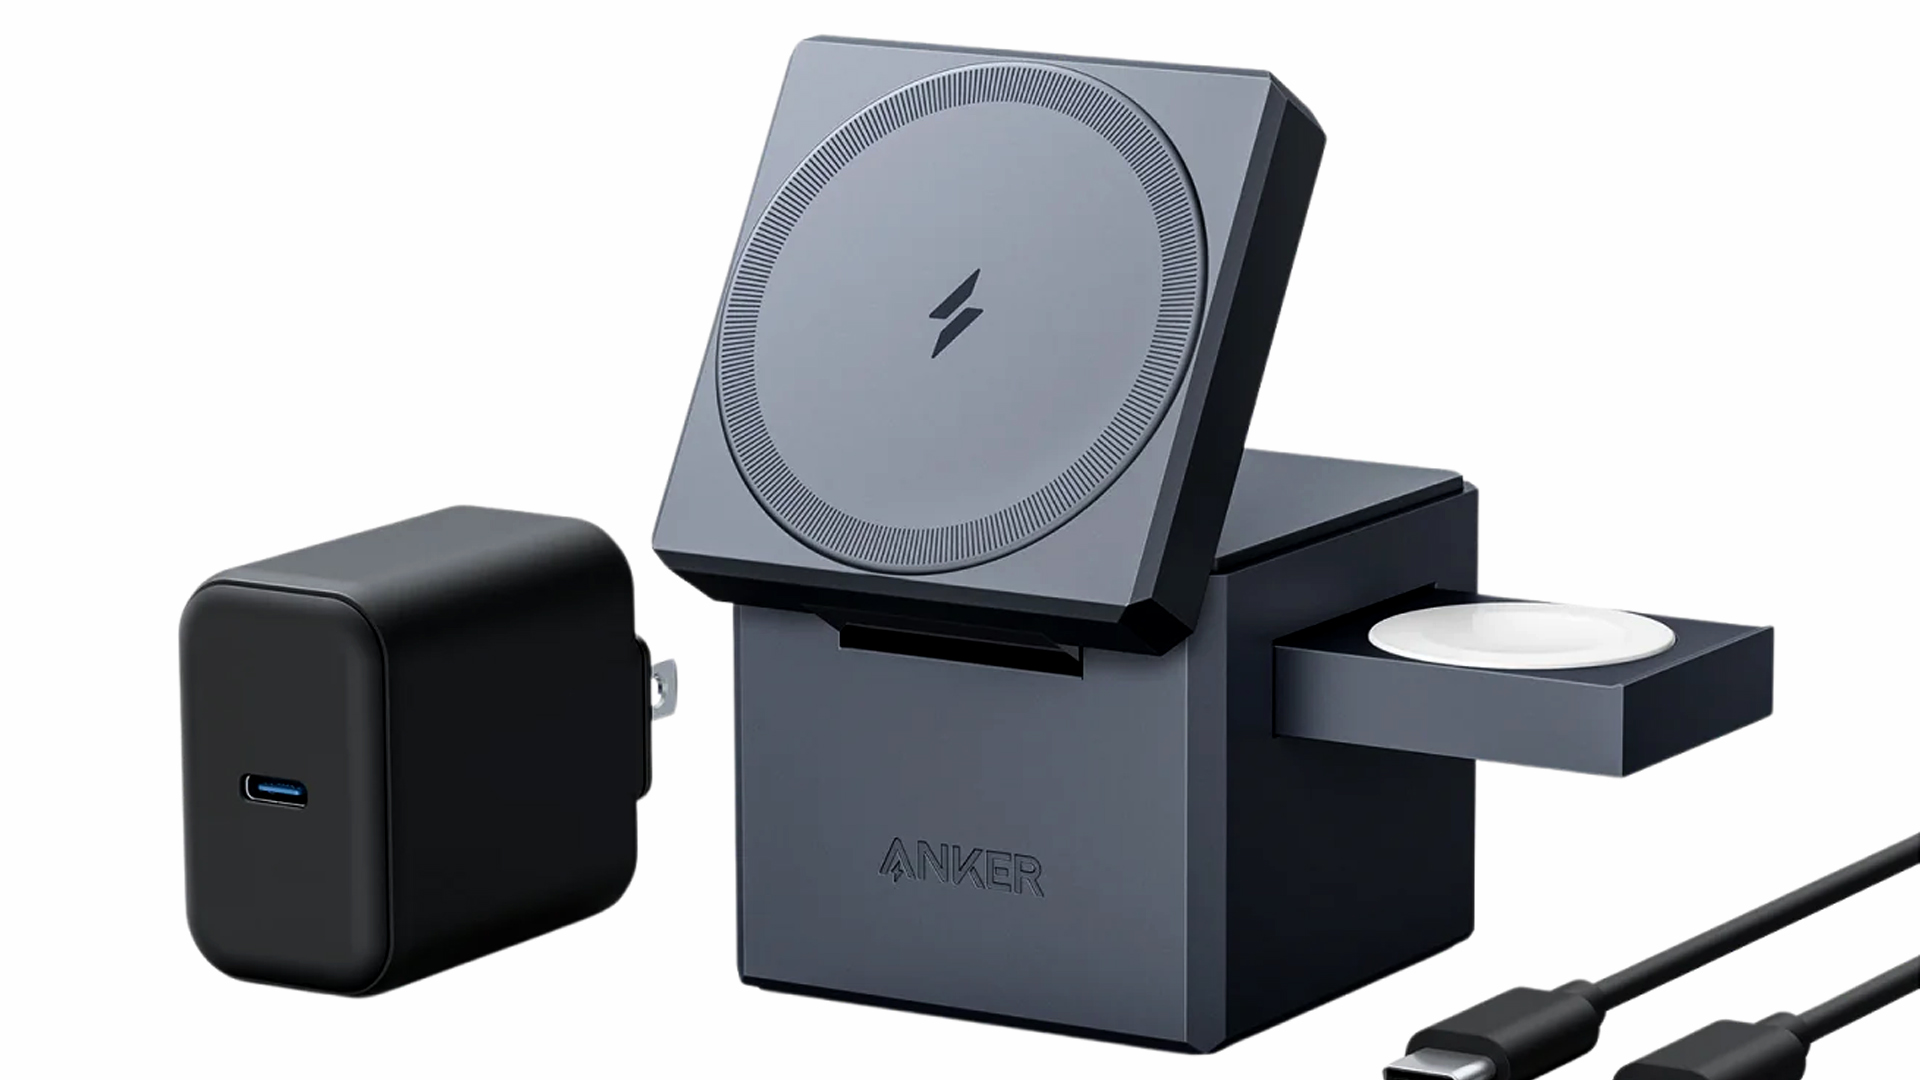
We really don’t want to push buying accessories too hard, but MagSafe accessories are so convenient that even Android owners have been figuring out ways to take advantage.
We recommend a stand not just for the convenience of wireless charging that keeps your iPhone visible, but because of upgrades in iOS 17. When StandBy mode is triggered by MagSafe your iPhone is transformed into a small smart display, enabling quick glances at things like the time, weather, and music controls. This is particularly useful on the 15 Pro and Pro Max, which have always-on displays.
If you have an Apple Watch or AirPods, it might be worth finding a stand that includes secondary chargers. That’s going to cost extra of course, and worsen your lock-in with the Apple ecosystem.
If you’re a road warrior or otherwise travel a lot, a MagSafe battery pack will latch onto your iPhone so you can keep using it while it charges. Some batteries even double as stands, so you may be able to kill two birds with one stone here. The gold standard is the Anker 622, but keep an eye out for alternatives.
3. Set up lockscreen and homescreen widgets
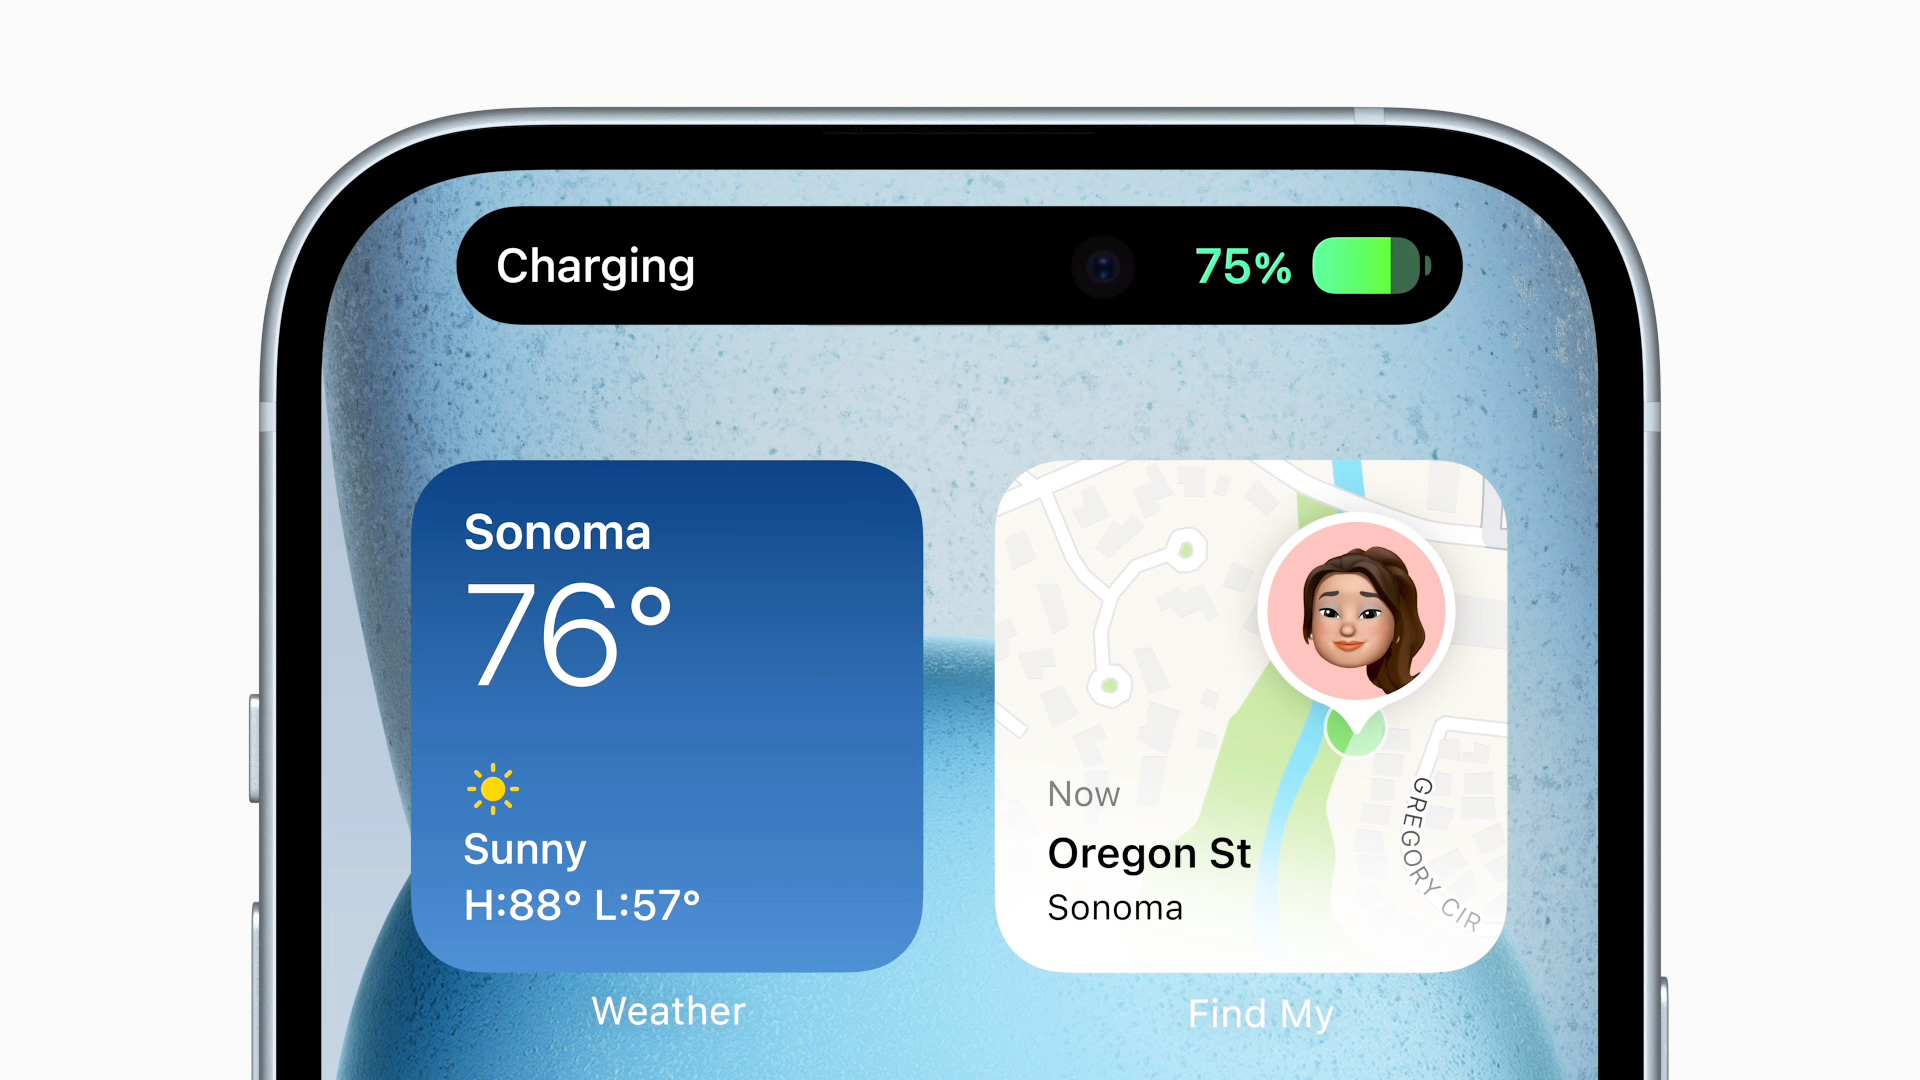
Lockscreen widgets are mostly useful on Pro iPhones, since you can check info like the weather or unread emails without touching anything. But they’re worth setting up on all iPhone 15 models, since you’ll occasionally save yourself the trouble of unlocking.
Where it’s really at is homescreen widgets. These can display more info than their lockscreen counterparts, and as of iOS 17, they’re interactive too. They’re so convenient that people will often stack the first page of their homescreen with them, relegating app icons to the second page or the App Library. You can always tap a widget to launch its associated app, and/or create a “stack” of widgets to cycle info while saving space. If you’re into running, for example, you might stack Fitness, Cronometer, and Strava together.
4. Turn on Dark Mode and lower brightness
For whatever reason, Apple likes to sear eyeballs by making Light Mode (a white theme) the default appearance for iOS. This not only strains your vision in dark conditions, but consumes unnecessary battery power, since the OLED panels on the iPhone 15 lineup use less energy when more pixels are dim or black.
To force Dark Mode on an iPhone 15:
- Open the Settings app and tap on Display and Brightness.
- Under Appearance, toggle off Automatic, and tap on Dark.
While you’re in the Display and Brightness menu, you should probably also lower the Brightness slider to 50% or less. The displays on the iPhone 15 series are incredibly bright, and indoors, anything higher is wasting juice. Just make sure to leave True Tone on, since this will automatically adjust both brightness and color temperature (tint) to ambient lighting.
5. Find your own wallpapers
Apple provides a lot of stock wallpapers for iPhones, including some that display dynamic content like weather or the solar system, but you’re not truly personalizing your phone until you capture or download your own images.
Many people use personal snapshots of friends or family, but for something slicker, it’s worth hunting through art or photo galleries. Here are three sources we like:
Once you’ve downloaded an image to your iPhone, you can select it like any other file in your Photos library. We recommend creating an “iPhone Wallpaper” album for easy access later on, especially if you want to use iOS 17’s Photo Shuffle wallpaper mode.
6. Hide or delete unwanted apps
Apple prefers that you use first-party apps and services, and like other smartphone makers, tends to make some unfounded assumptions about how you’ll use things — you probably don’t have any investments to track in the Stocks app, for example, and if you do, you probably don’t need to check on them so often that the app needs a place on your homescreen.
Thankfully, you can hide apps or delete them outright. Tap and hold on an app, then choose Remove App. You’ll get options to delete the item or remove it from the homescreen. If you choose the latter, the app will stay installed, but only accessible via search or the App Library. Deleting an app saves both storage and homescreen space, but you’ll need to re-download it from the App Store if you want it back.
7. Turn on automatic updates
Here at Android Authority we often manually update our devices to get new software as soon as possible, but if you’re a more relaxed iPhone owner, automatic updates are perfectly fine.
To have iOS update automatically:
- Go to Settings > General > Software Update > Automatic Updates.
- Turn on Download iOS Updates, Install iOS Updates, and Security Responses and System Files. Note that iOS updates will only be installed overnight, and only when you’re connected to Wi-Fi and a charger.
To have apps update automatically:
- Go to Settings > App Store.
- Under Automatic Downloads, toggle on App Updates.
Optionally, you can scroll down to Cellular Data in the App Store menu and enable Automatic Downloads, and/or tap on App Downloads to choose if and when iOS will prompt for permission. We only recommend allowing cellular app downloads if you have an unlimited data plan.
8. Set up Focus modes
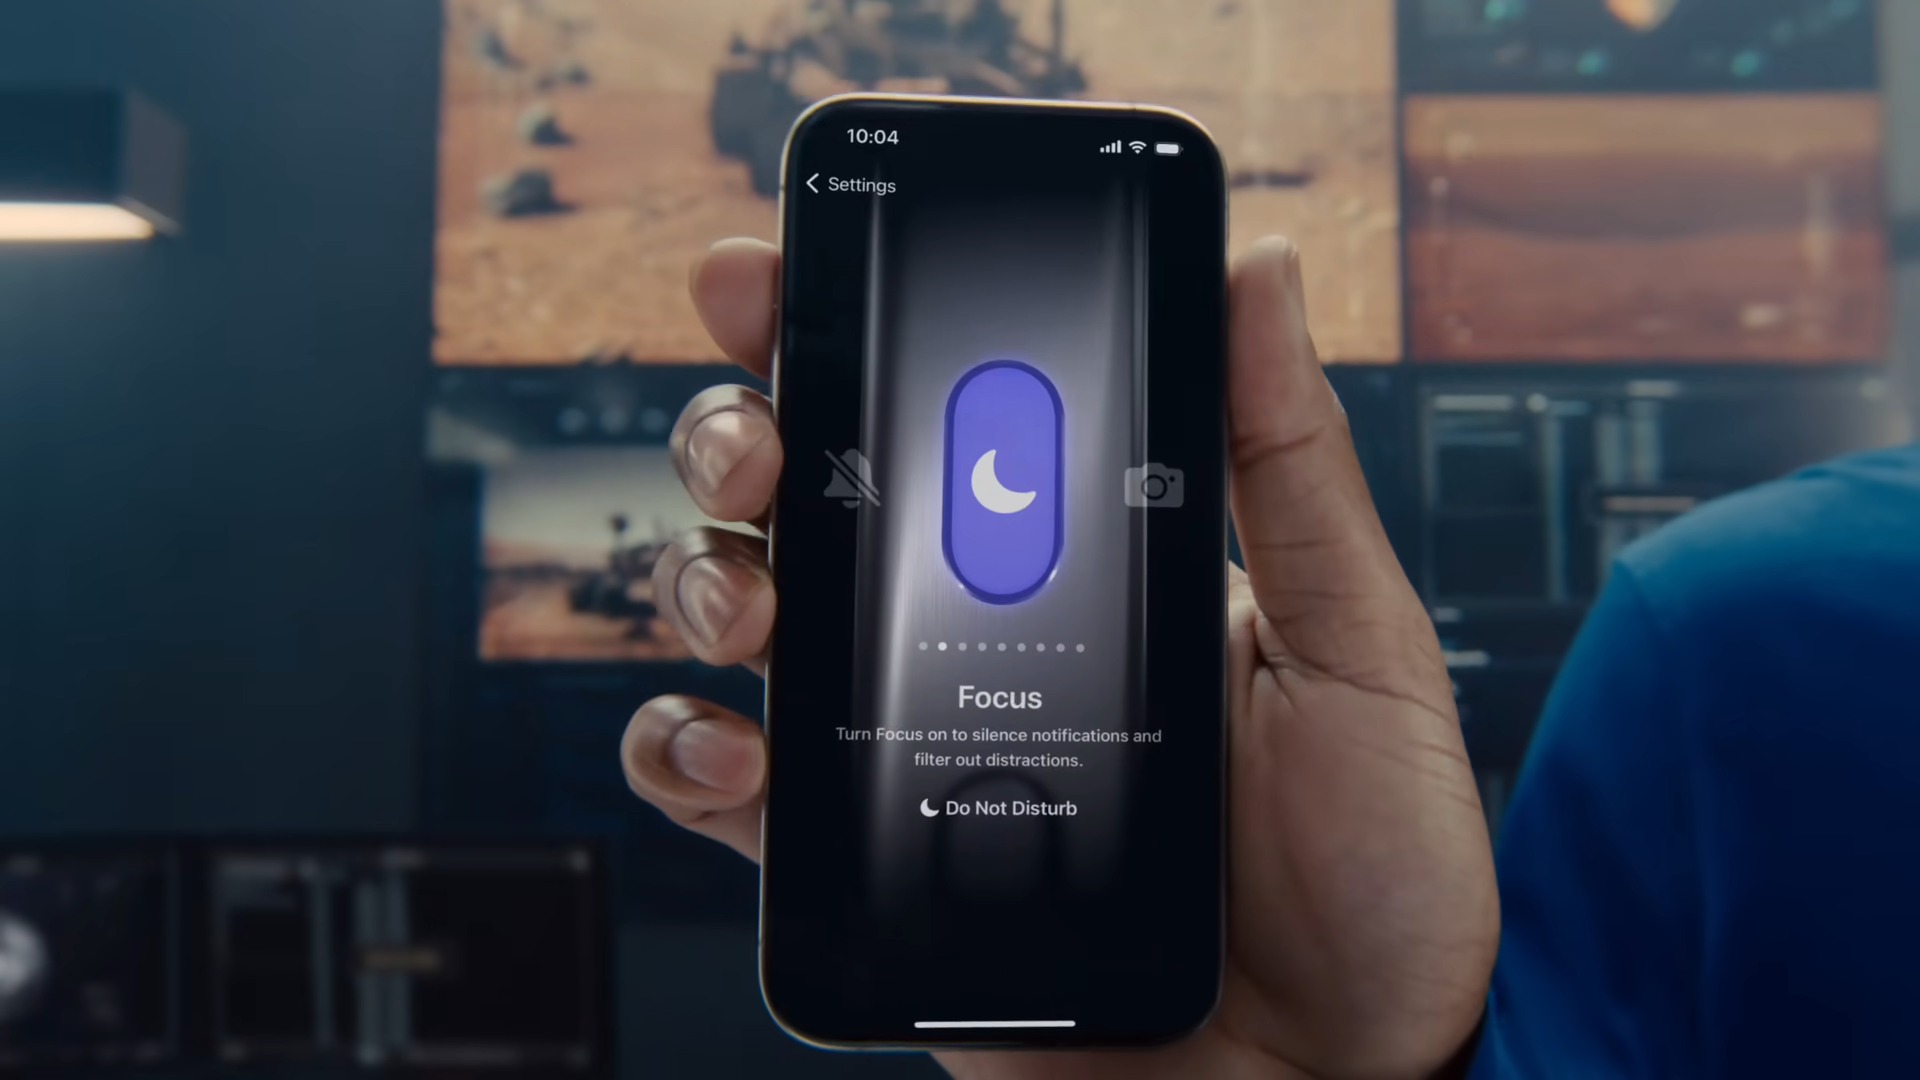
By default iOS 17 includes Focus modes like Do Not Disturb, Fitness, and Driving, meant to cut out unwanted app notifications. These can be heavily customized though, for instance including or excluding specific apps, triggering automatically under different conditions, or switching lockscreens, homescreens, and Apple Watch faces. You can also build your own modes, say if you need a Gaming option that makes room for Twitch and Discord.
9. Explore the Shortcuts app
The Shortcuts app can be easy to ignore, but you should really try it. After you get over its learning curve, it can be used to trigger multiple complex actions with a single command — telling Siri “I’m driving home” could be used to simultaneously get directions in Apple Maps, shuffle a Music playlist, send a text message, and even turn on the lights at home using HomeKit. There’s a gallery of premade shortcuts if you need them.
There are also infinite automation possibilities, including not just apps and HomeKit but on-device settings. Turning on Sleep focus might automatically lower both screen and smart bulb brightness and start shuffling an ambient playlist.
You’ll definitely want to learn Shortcuts if you’re getting an iPhone 15 Pro or Pro Max. Those phones have a customizable Action button, and one of the options is linking it to an action in Shortcuts.
10. Exploit Apple’s free service trials

Apple is eager to hook you on as many subscription services as possible, so new iPhones often come with extended trial offers for things like Apple Music and Apple TV Plus if you’re not already a subscriber. You might get up to 3 months of Apple TV Plus, so if you were ever interested in catching up on shows like Foundation and Severance, now’s the time.
Be aware that Apple trials tend to be opt-out, meaning you’ll have to unsubscribe to avoid being charged, and you may lose access instantly rather than the end of the trial window. The trick then is to set an iOS reminder to cancel a little over 24 hours before the trial is set to end.
11. Upgrade your wired cables and chargers
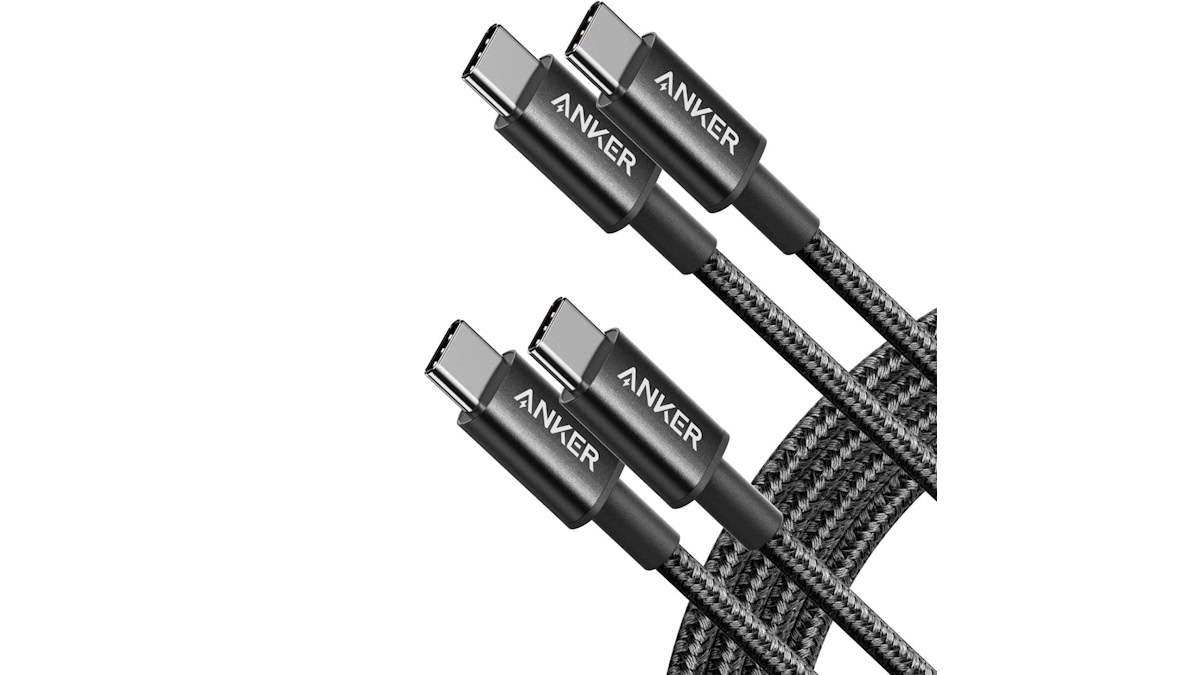
One of the major benefits of the iPhone 15 switching to USB-C is that you can finally reuse the same cables and adapters you might have for devices like your camera, tablet, or laptop. No more hunting for a single-purpose Lightning cable when your computer’s USB connector is right there.
We recommend repurposing accessories whenever possible to save money, but if you do need new gear, this is an opportunity to get products that take full advantage of Apple’s specs. In the case of the regular iPhone 15 and the 15 Plus, you can use any USB-C cable, but adapters should support 20W or more of power if you want maximum charging speeds.
With the 15 Pro and Pro Max, aim for at least 27W of power, and cables rated at USB 3.2 Gen 2 data speeds (10Gbps) or higher. In fact you’ll need a separate cable to max out data, since the one bundled with your iPhone can’t reach 10Gbps.
Ideally, any cable you get will be braided. It’s not strictly necessary, but braided cables tend to avoid tangles and should stay looking nicer for longer.

