The Google Pixel 8 and 8 Pro are two phones packed with AI features, all powered by the Tensor G3 chipset. One of the standout additions is the Magic Editor, and here’s how to use it.
Pixel phones of the past have packed many AI camera features, however it’s a different story with the Pixel 8 and 8 Pro.
These are Google’s most AI-focussed phones yet. One such feature is Magic Editor, a generative AI camera trick that can completely change an image. Whether it’s enlarging a subject, altering the look of the sky or completely removing objects Magic Editor has many skills.
If you’ve picked up a Pixel 8 or Pixel 8 Pro, here’s how to get started with Magic Editor.
What you’ll need:
- Google Pixel 8 or Pixel 8 Pro
The Short Version
- Unlock the Pixel 8 or Pixel 8 Pro
- Open Photos
- Select your image
- Tap Edit
- Tap on the Magic Editor button
- Select what you want to edit
- Use the options to make your tweaks
- Tap the arrow to complete
- Tap the tickbox
Pixel 8 Pro with free Pixel Watch 2
This incredible Pixel 8 Pro contract comes with 100GB of data and a free Pixel Watch 2 for today only.
- Mobiles UK
- £99 upfront
- Just £38.99/month
-
Step
1Unlock the Pixel 8 or Pixel 8 Pro
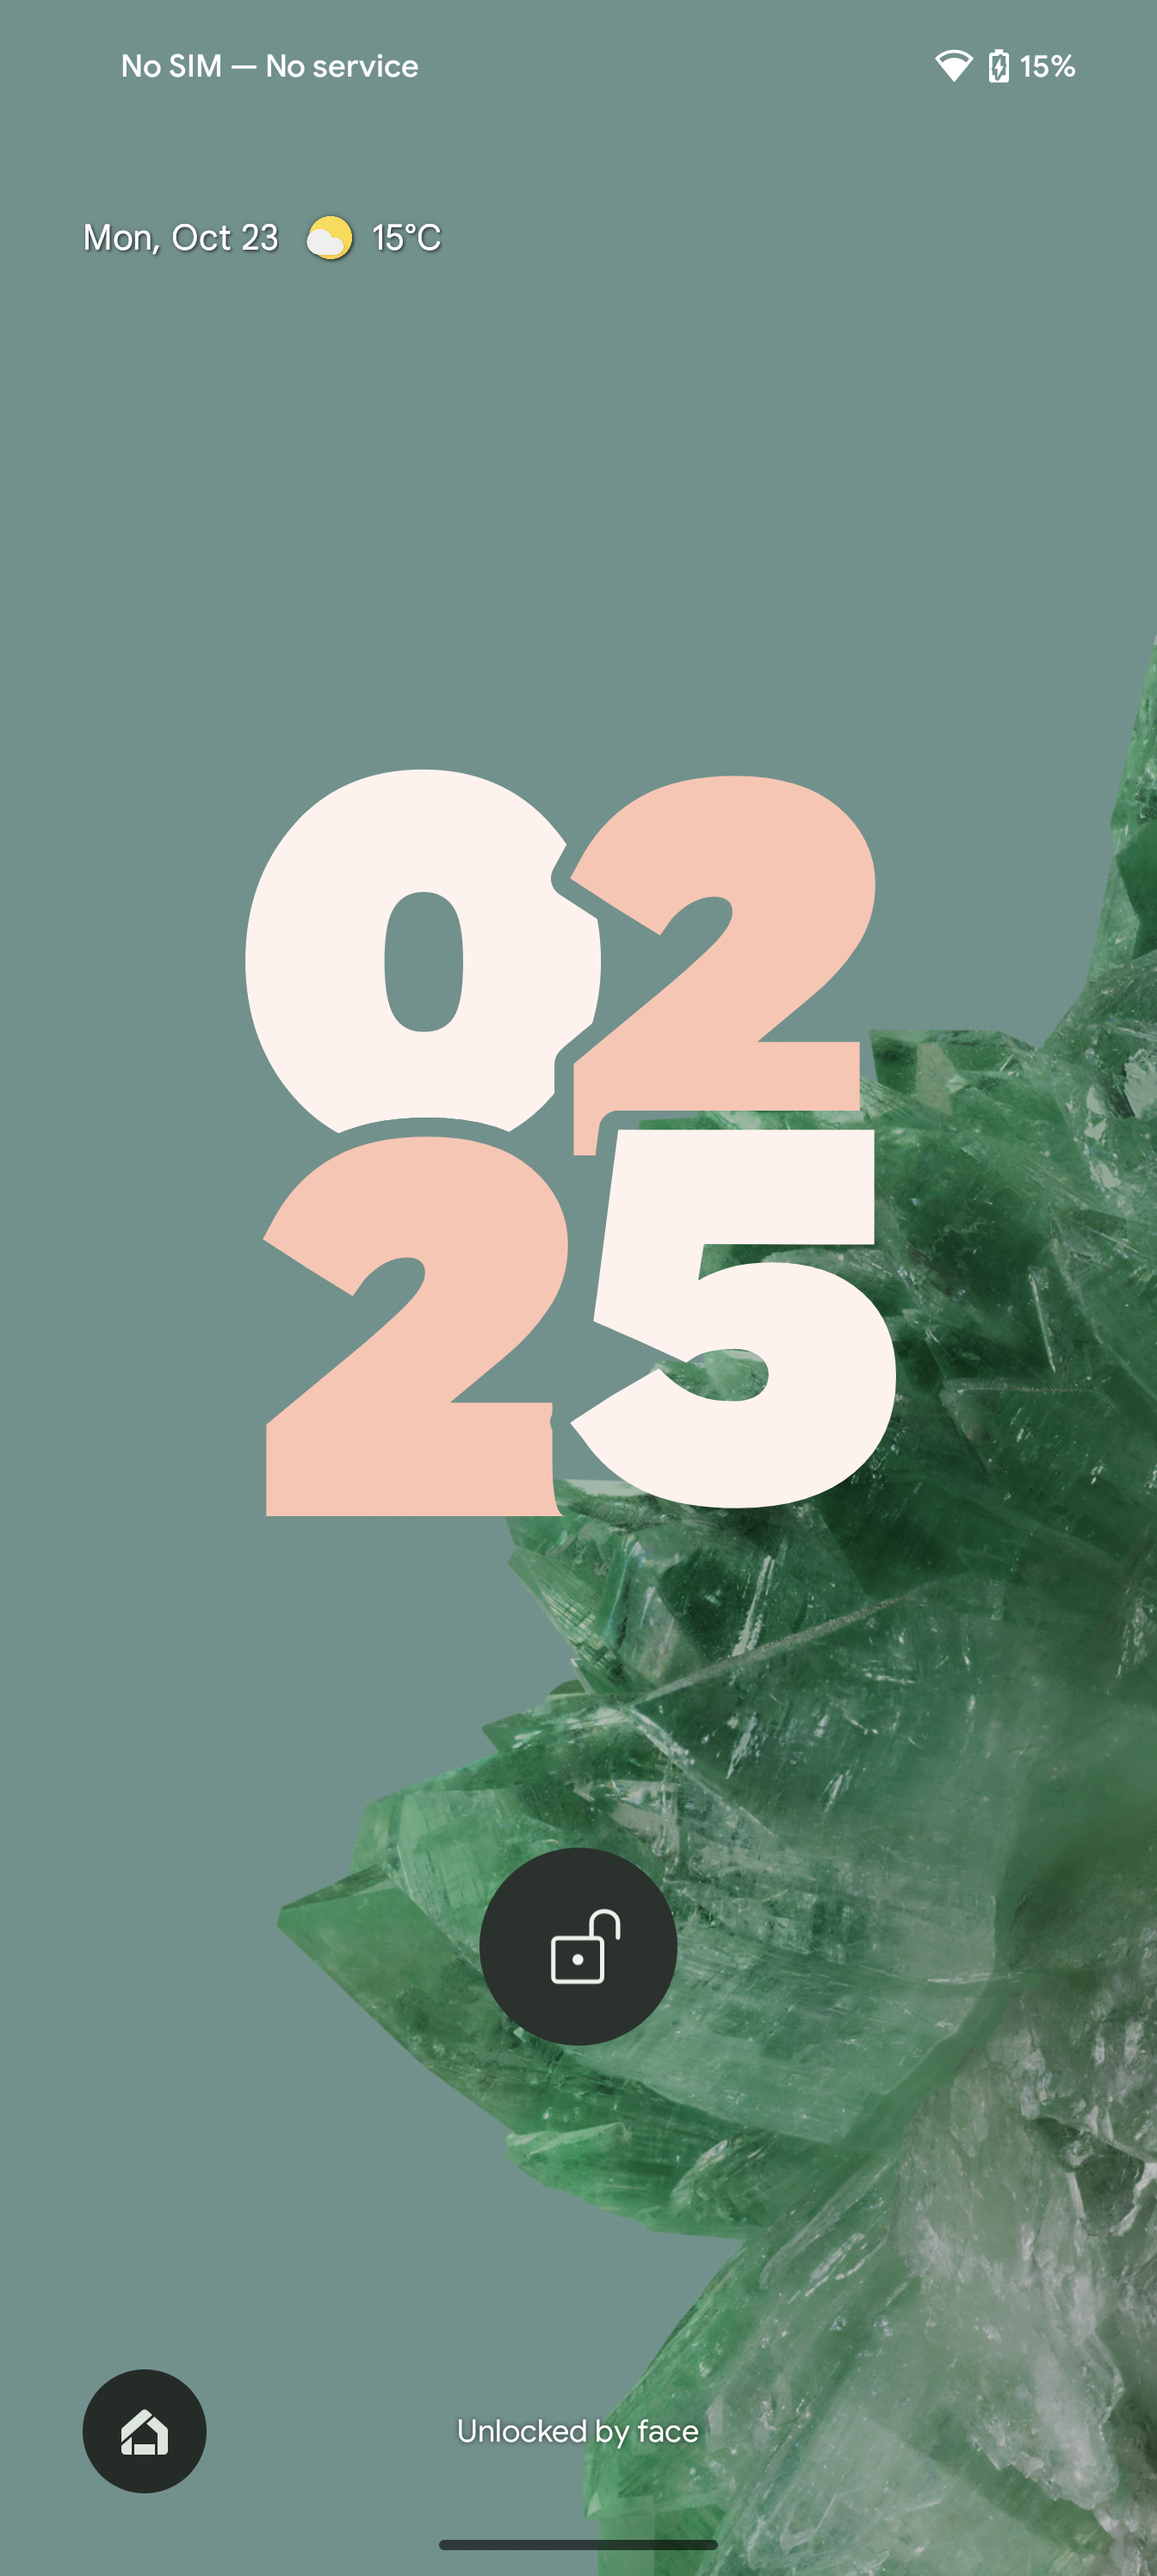
To begin, unlock your phone so you’re looking at the home screen.

-
Step
2Open Photos

Next, open the Photos app. In the image below, the Photos app is situated in the right corner of the dock and has an icon that looks like a flower.

-
Step
3Select your image

Once in Google Photos, find the image you want to work on with the Magic Editor. Tap on the image to open it.

-
Step
4Tap Edit

With the chosen picture open, tap on the Edit button.

-
Step
5Tap on the Magic Editor button

Once inside the Edit screen, a new icon will appear that looks like a photograph with a colourful overlay. You can see it in the image below. This is the Magic Editor button – tap it.

-
Step
6Select what you want to edit

Once the Magic Editor button has been tapped, a new screen will appear. For this tutorial, we’ll be enlarging a dog. Tap on the subject to get going. You could also tap on other areas, like the sky.

-
Step
7Tap the arrow to complete

Once you’re happy with the changes, tap the colourful arrow in the bottom right corner to generate the image.

-
Step
8Tap the tick to confirm

Once the image has finished generating, you’ll see a preview. If you’re happy with the results you can tap the tick and it’ll save the image into your library.

Troubleshooting
Currently, Magic Editor is available on just the Pixel 8 and 8 Pro however it could come to more Pixel phones down the line.


