The Google Pixel 8 and Pixel 8 Pro continue Google’s journey of AI-powered photo editing with new features including Best Take, a new tool that looks to deliver those perfect group selfies.
Anyone who has tried to take a photo of a group of people will no doubt know how hard it is to get everyone to look at the camera at the same time. Some will look away, some might have their eyes closed, and others might pull a funny face. While traditionally you’ll have to keep snapping away to get that perfect shot, Best Take simplifies the process.
Using AI, the Google Pixel 8 and Pixel 8 Pro can analyse photos taken in quick succession and allow you to simply swap out the faces of anyone looking away, blinking, etc, for a pose in another shot where they were looking at the camera. It’s a cool bit of tech that’ll make taking group selfies a much simpler process.
If you’re interested, here’s how to use Best Take on the Google Pixel 8 and Pixel 8 Pro.
What you’ll need:
- Google Pixel 8 or 8 Pro
- A handful of photos taken within seconds of each other
- Google Photos app
The Short Version
- Take multiple pictures or group selfies in quick succession.
- Open the Google Photos app.
- Tap on one of the photos you took.
- Tap Edit.
- Tap Tools.
- Tap Best Take.
- Tap the faces and various facial expressions to preview them.
- Tap Save a Copy.
-
Step
1Take multiple pictures or group selfies in quick succession
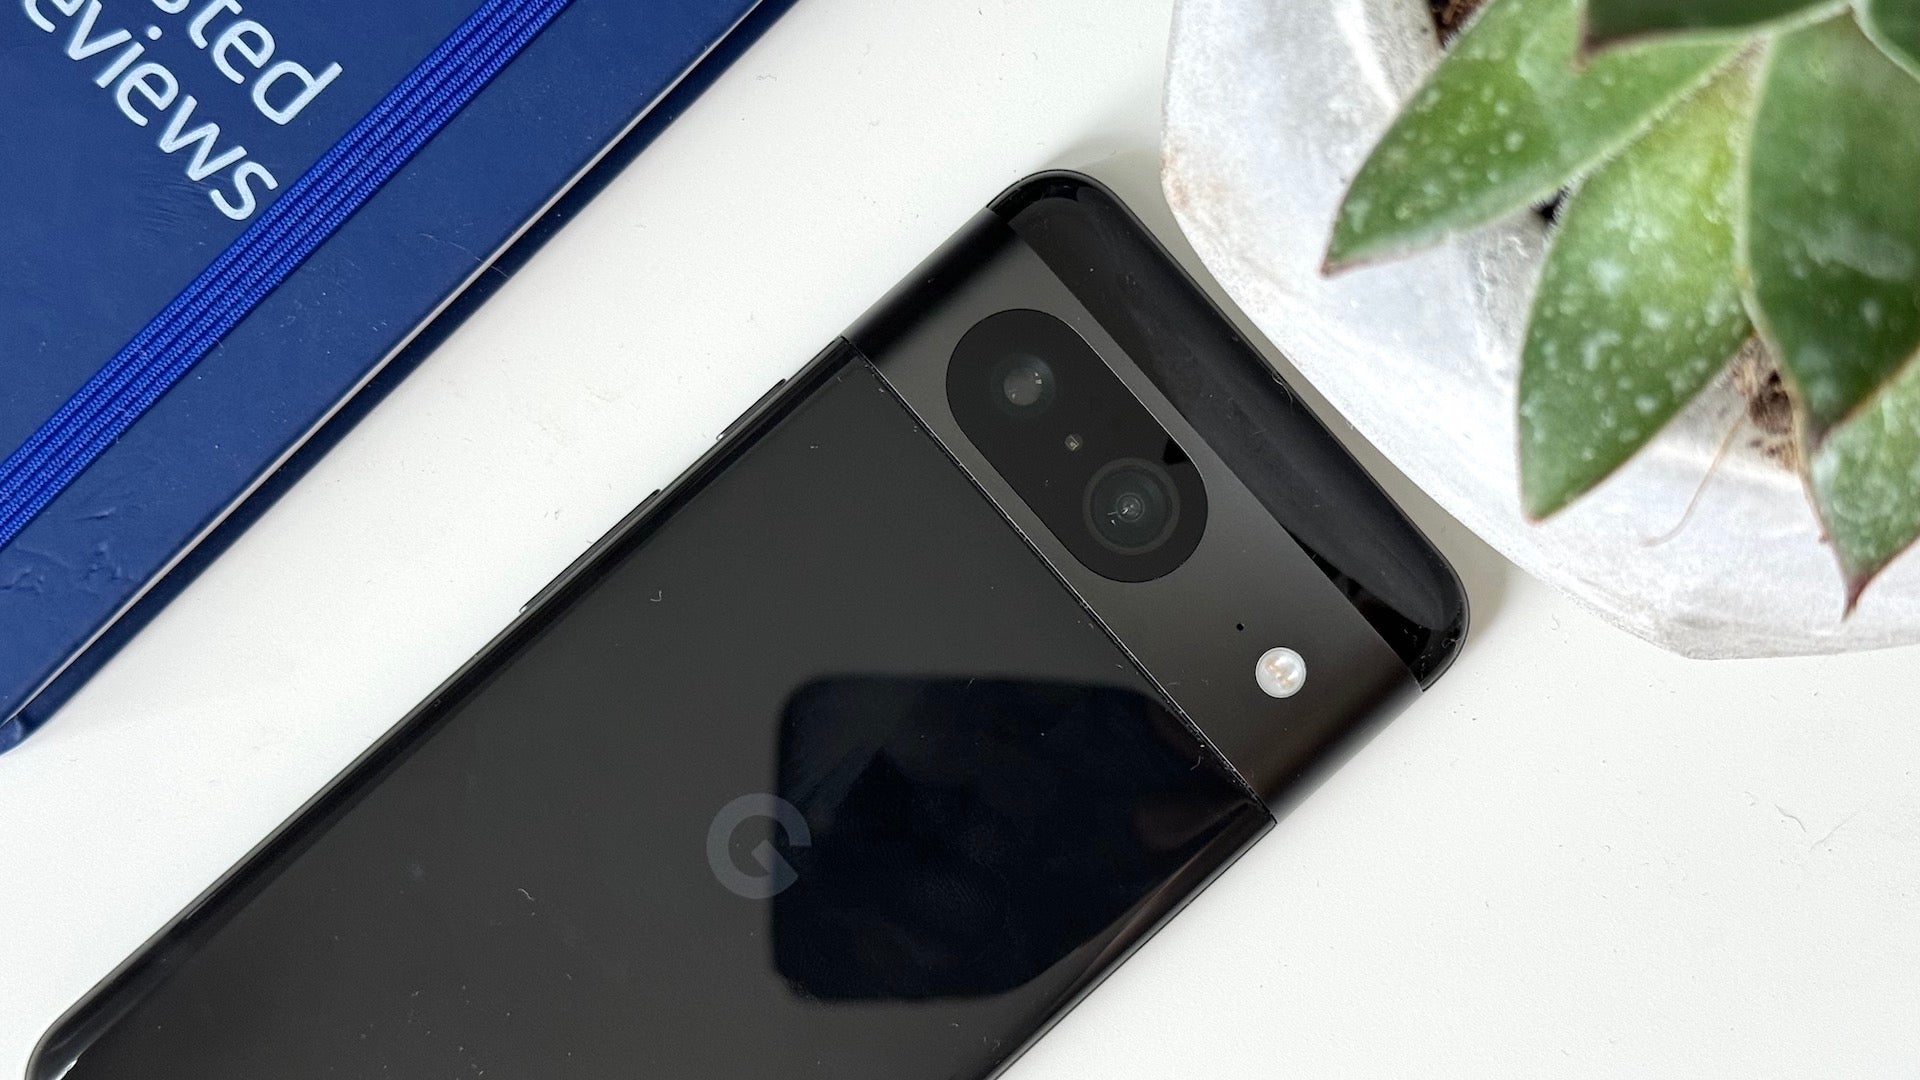
To be able to use Google’s Best Take technology, you’ll need multiple pictures taken within seconds of each other. This can either be a group shot or a selfie, though the tech is best utilised with multiple people in the shot.
-
Step
2Open the Google Photos app
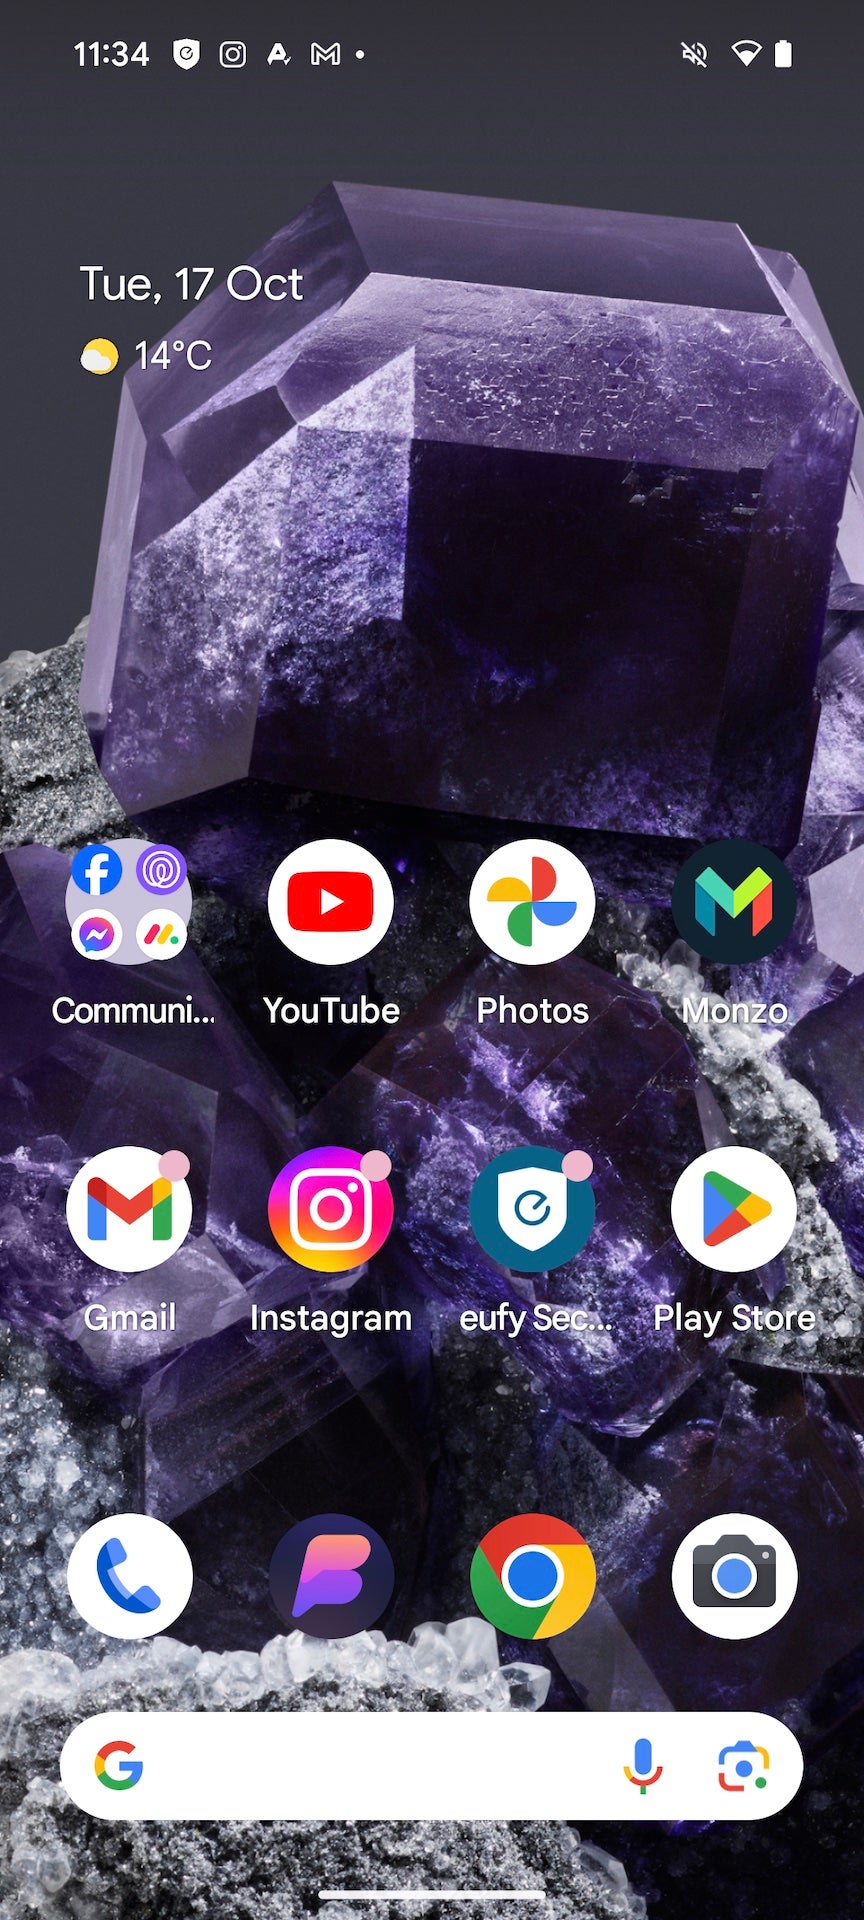
Once you’ve got your photos, the next step is to open the Google Photos app.

-
Step
3Tap on one of the photos you took
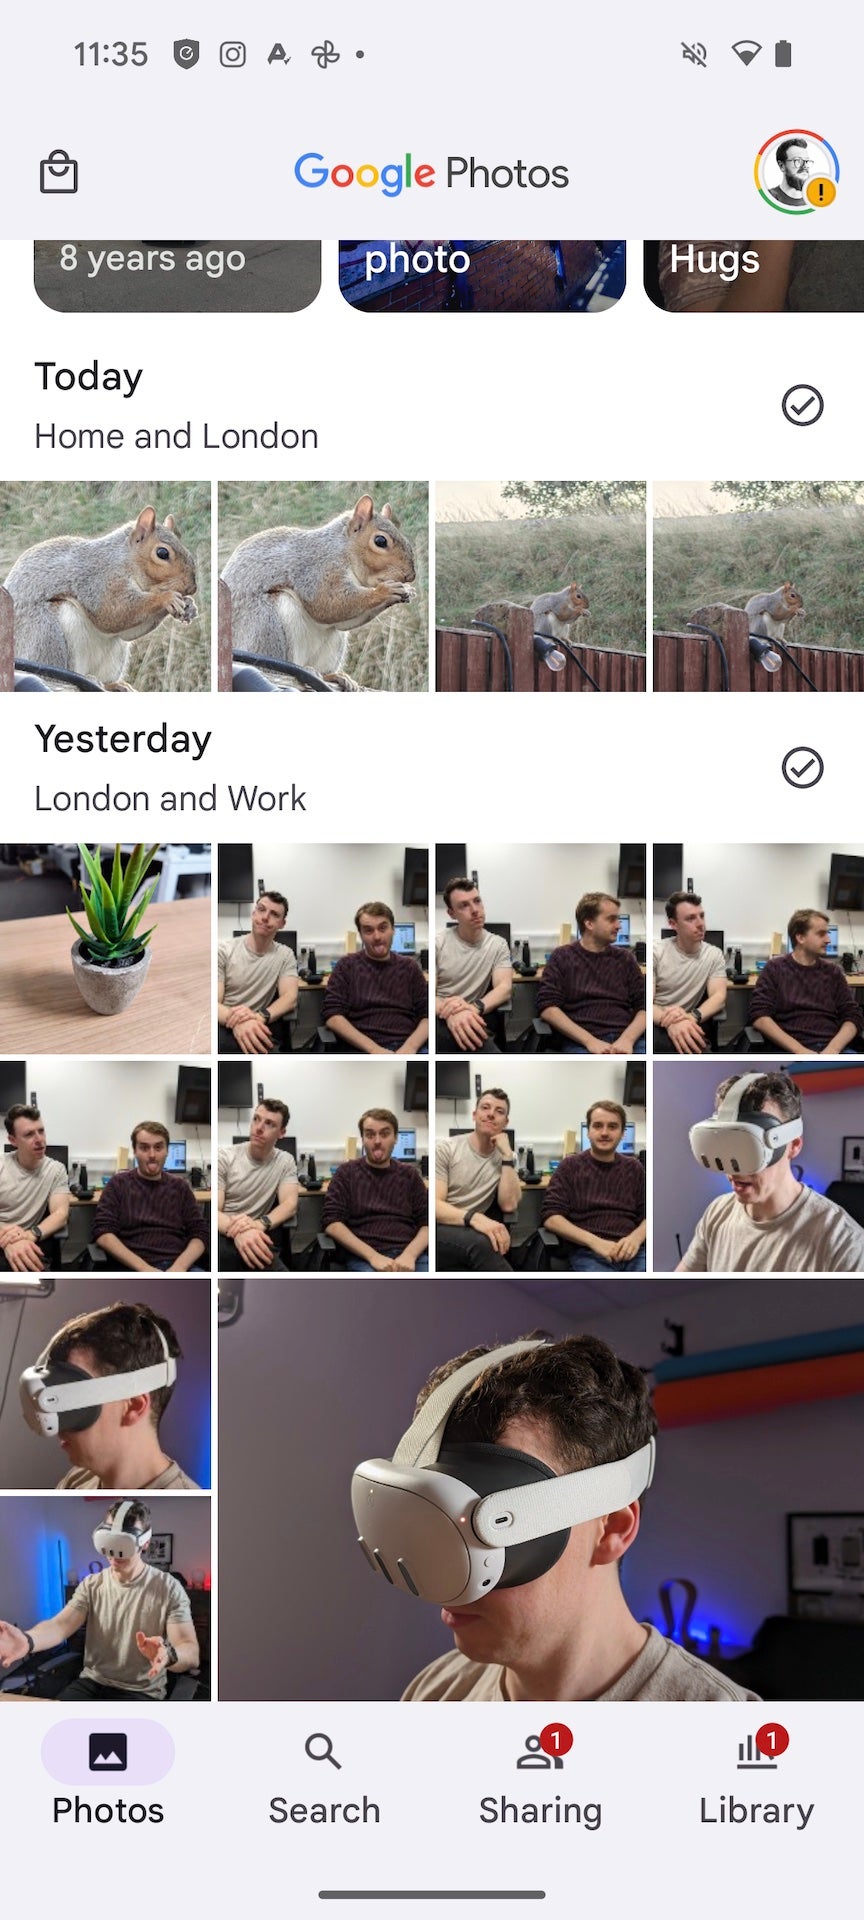
Tap on one of the photos you just took to preview it in full-screen mode.

-
Step
4Tap Edit

Tap the Edit button at the bottom of the screen.

-
Step
5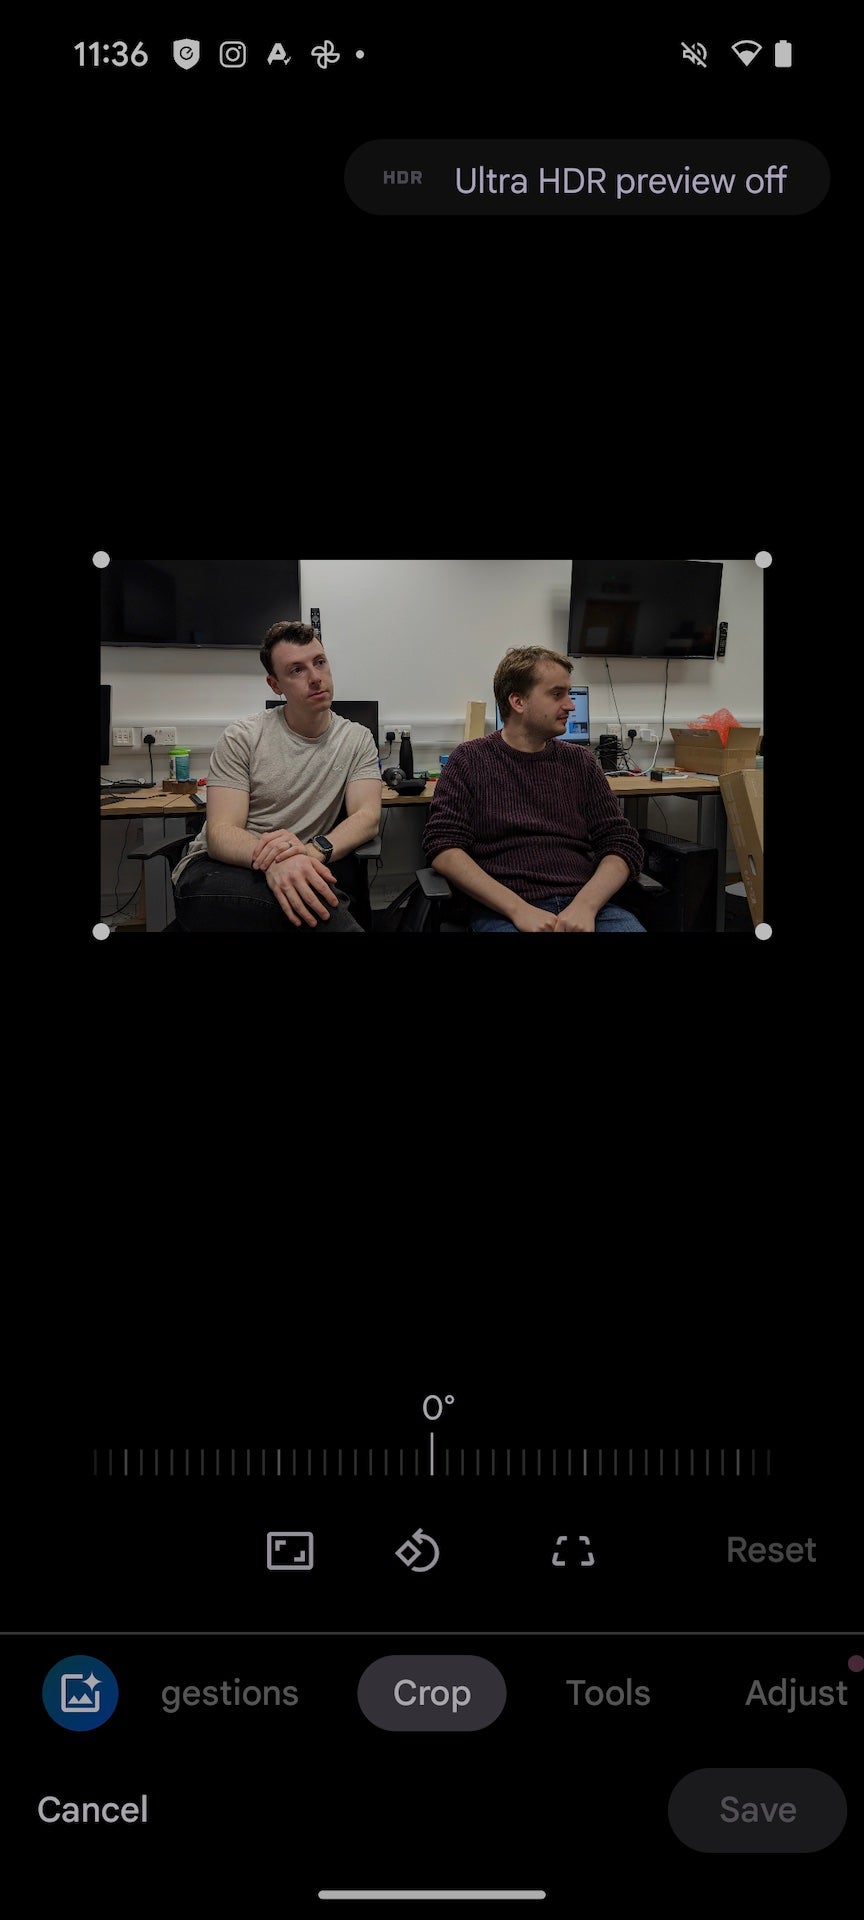
Scroll along the icons at the bottom of the screen until you find Tools. Tap it to continue.

-
Step
6Tap Best Take
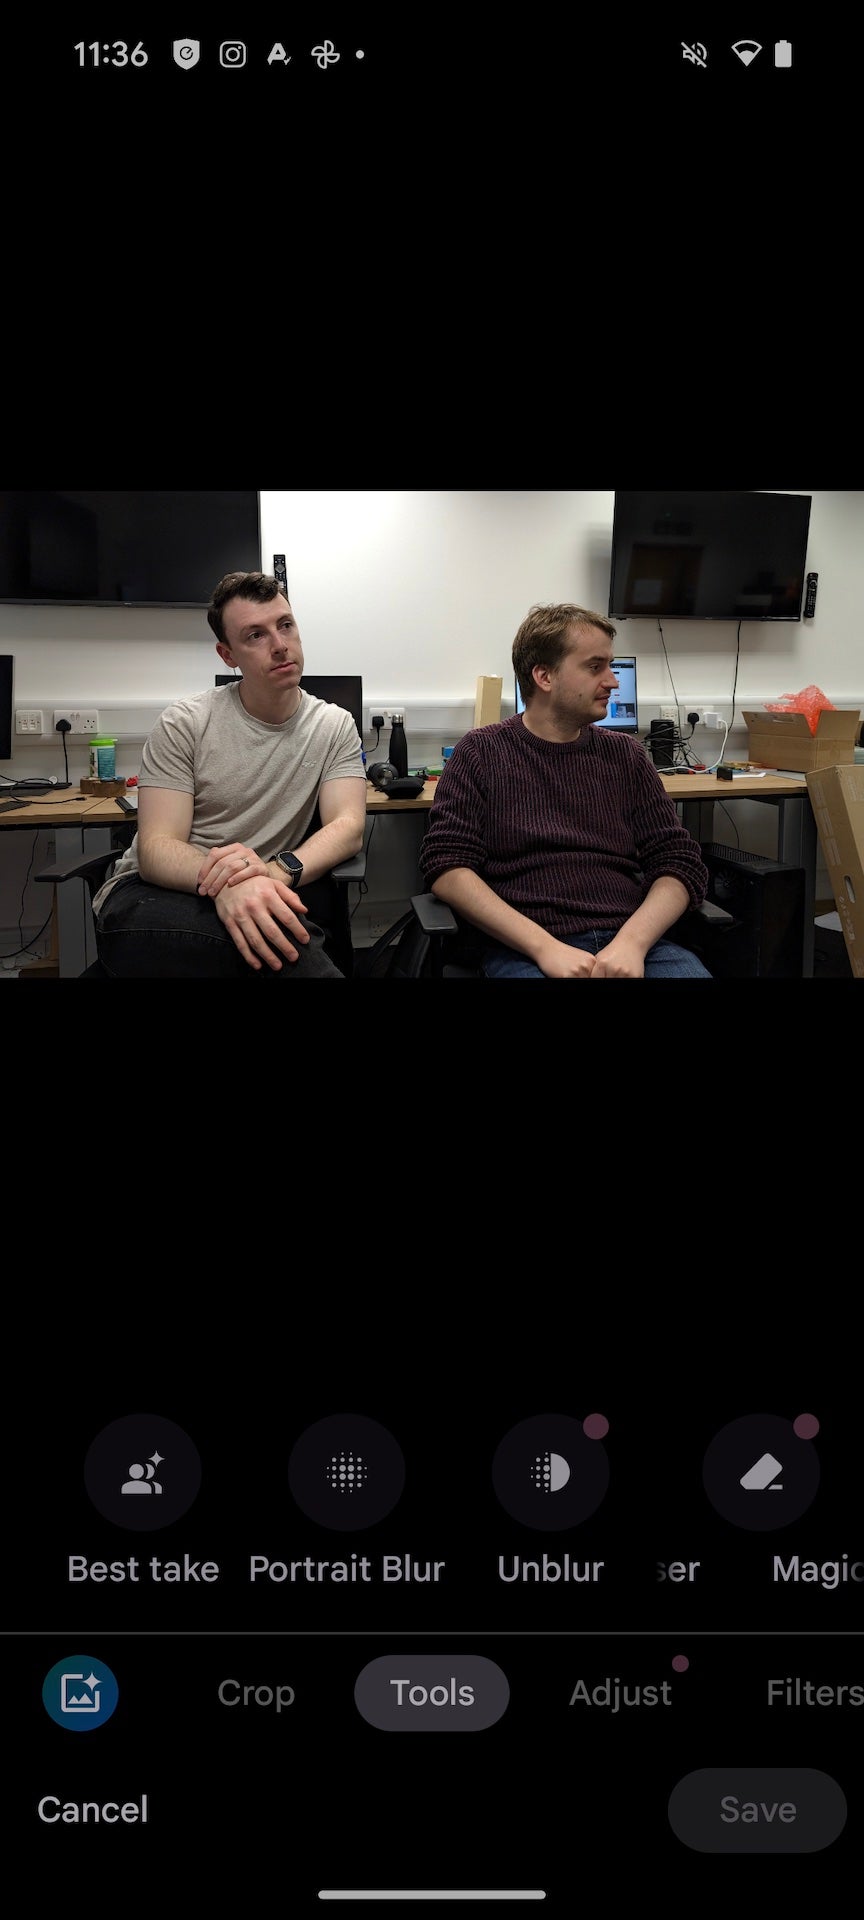
You should now see the new Best Take option alongside other AI-powered filters like Magic Eraser, Background Blur and Portrait Lighting. Tap Best Take to continue.

-
Step
7Tap the faces and various facial expressions to preview them
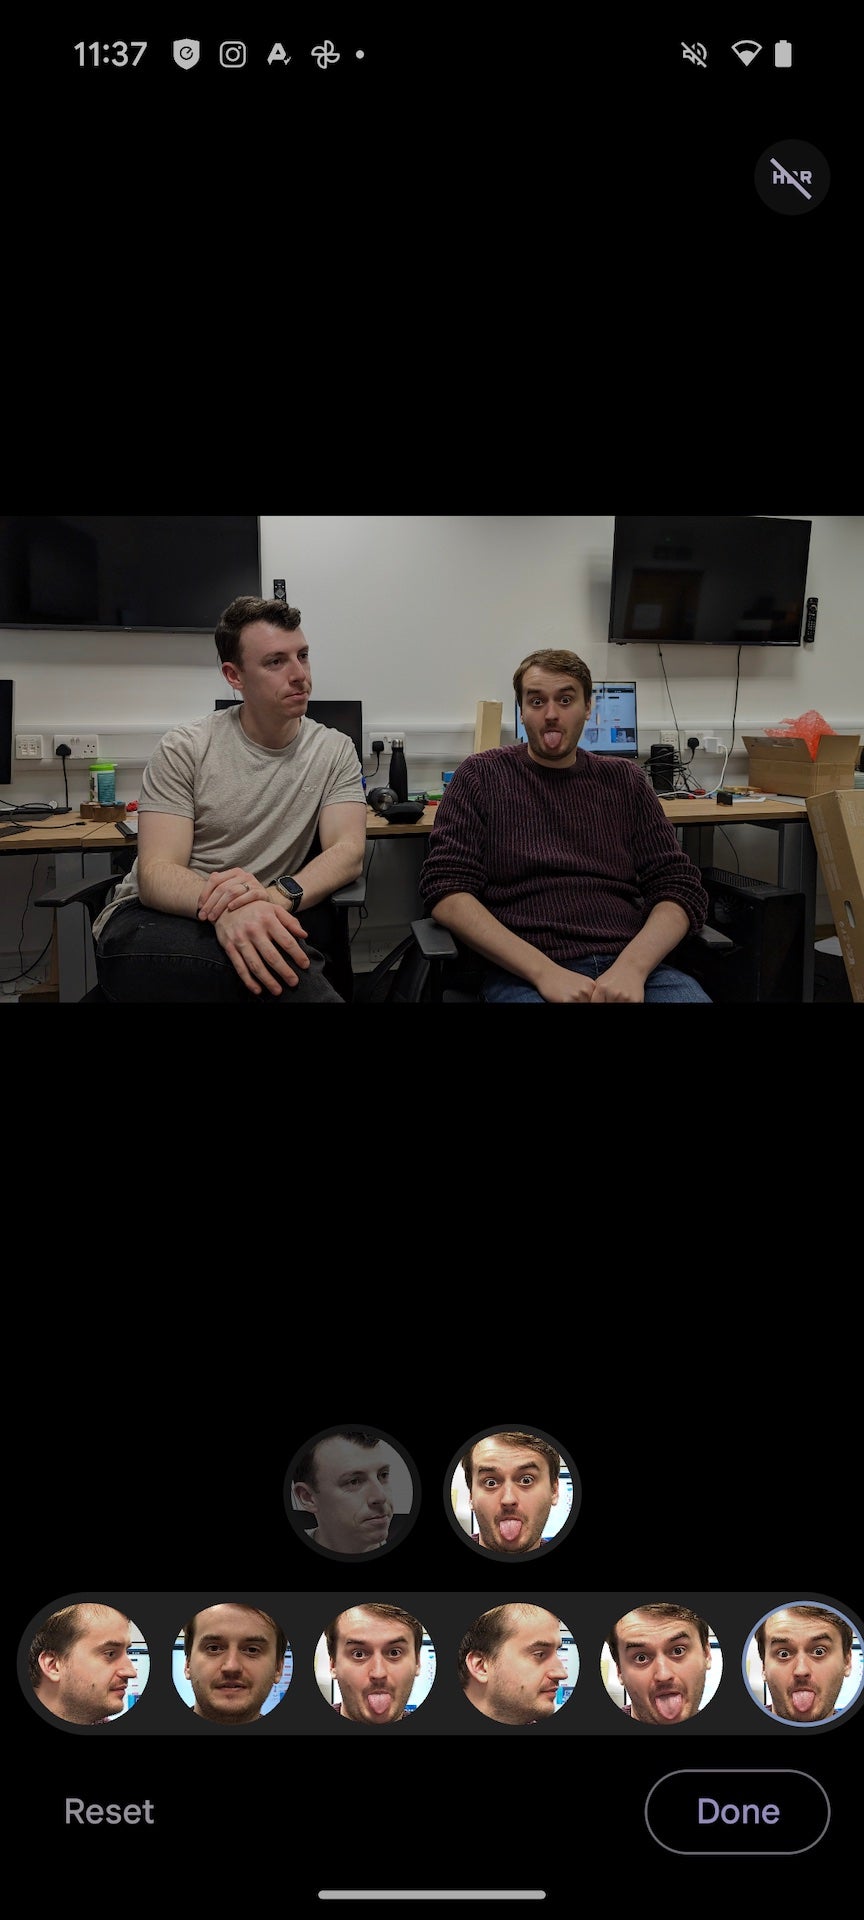
From this menu, you’ll be presented with your base photo and a bunch of faces beneath the photo.
To change the expression of someone who was, say, pulling a face or looking away from the camera, tap the person’s face and browse the alternative options available at the bottom of the screen. Tap each face to preview it and make sure it looks natural, as Google’s AI sometimes gets it a little… wrong.
Continue this process until you’re happy with the poses of everyone in the photo.

-
Step
8Tap Done
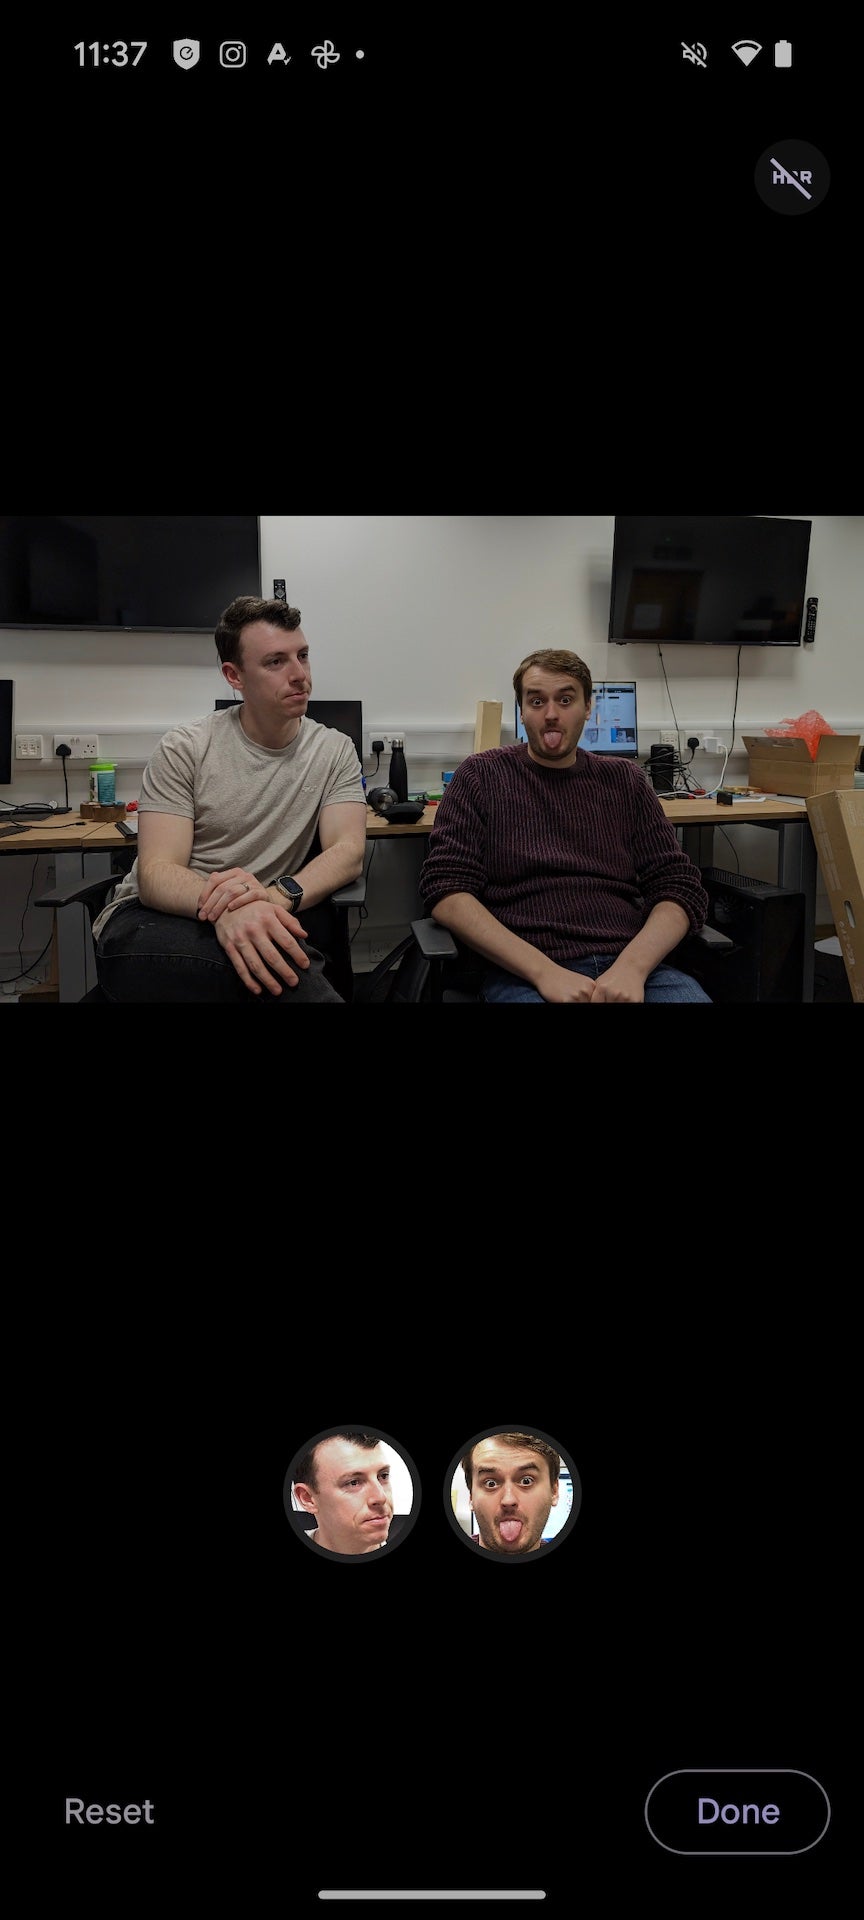
Once you’re happy with the way your photo looks, tap Done in the bottom-right corner.

-
Step
9Tap Save a Copy
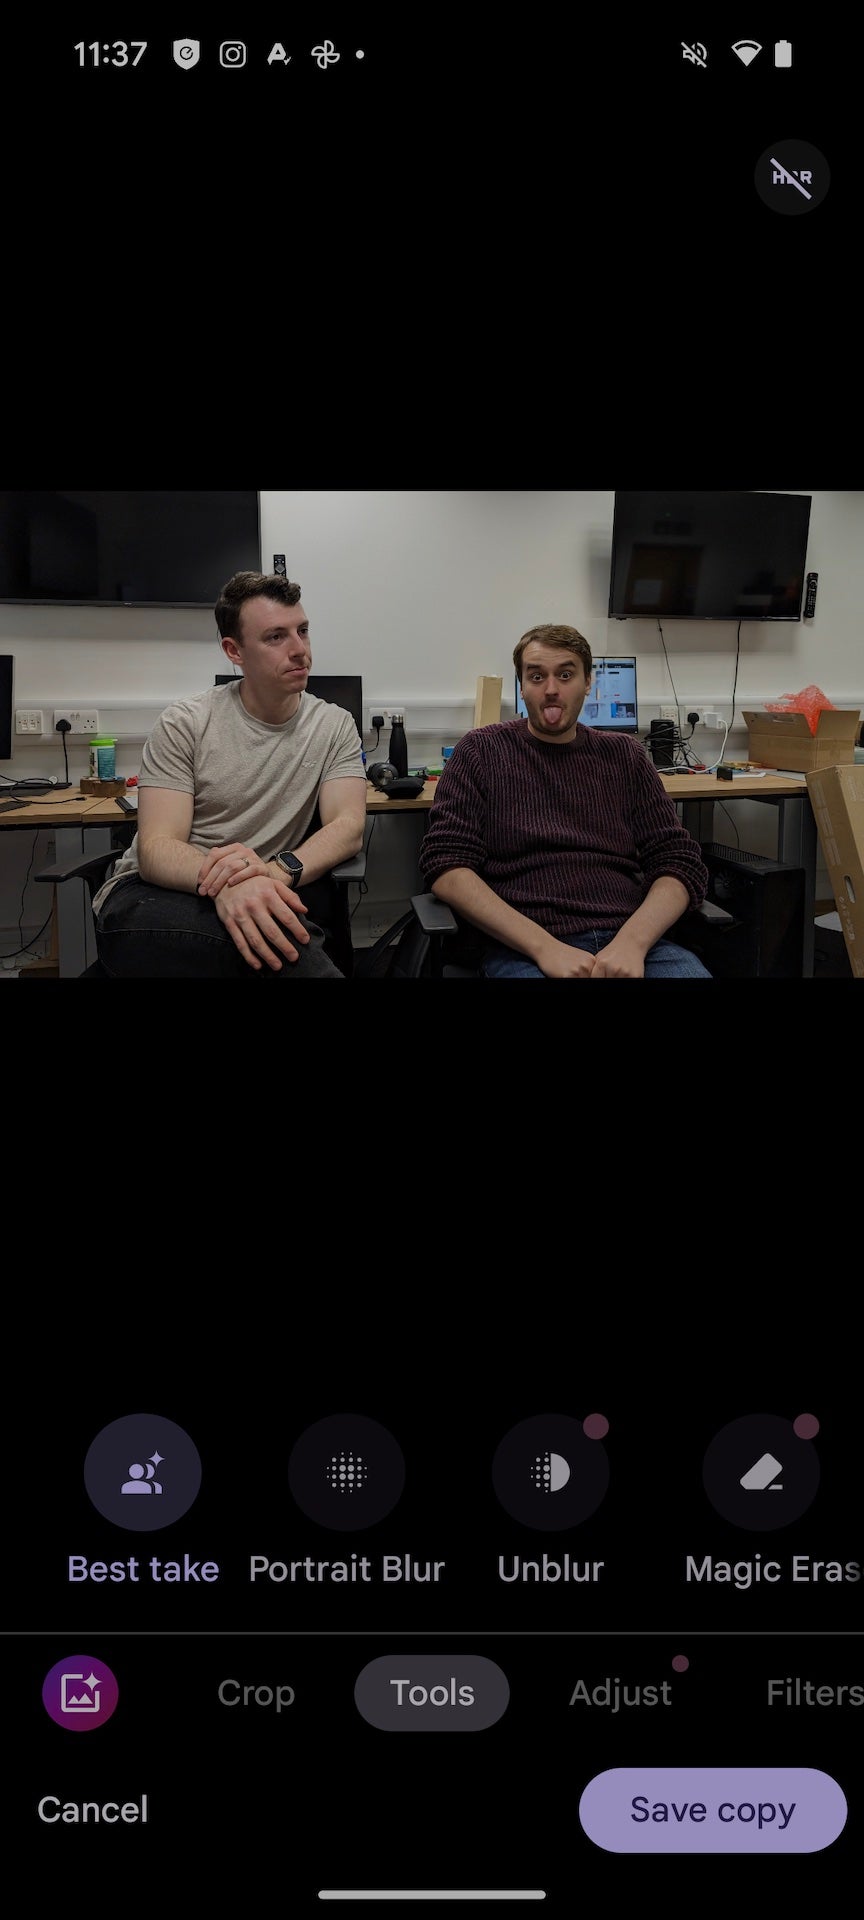
Once you’re happy with the compilation you’ve created, simply tap Save a Copy in the bottom-right corner to save your AI-perfected masterpiece, ready for sharing with friends and family on social media.

Troubleshooting
The Best Take tool will only appear when there are a few photos available taken within seconds of each other. If you change the framing or people move around, you won’t be able to use the tech.

