iOS 26 represents the most significant visual upgrade to iOS in years, with the company’s new Liquid Glass Ui giving everything a decidedly more transparent look.
Of course, that’s not the only new feature rolling out as part of iOS 26; the software update also boasts features like upgraded Visual Intelligence smarts, a redesigned Messages app and AutoMix support in Apple Music, while the new Adaptive Power Mode will save battery when you’re draining battery faster than usual.
The software isn’t set for release until later this year, but keen Apple fans have been able to try it out early via the iOS 26 public beta.
The problem is that, with the beta-phase nature of the software, it can be quite buggy. There’s a reason why Apple recommends not installing the software on your primary device – but, of course, people went ahead and did it anyway.
If you’re finding iOS 26 too buggy and want to revert to iOS 18, we show you how to do that right here. But fair warning: you’ll lose everything you’ve installed on your iPhone since you installed the beta, as you can’t restore from an iOS 26 beta on iOS 18.
What you’ll need
- An iPhone running iOS 26
- A Mac or Windows PC/laptop
- Finder or Apple Devices app
- An internet connection
The short version
- Launch Finder on Mac, or Apple Devices on PC.
- Connect your iPhone to your PC/Mac via cable.
- Put your phone into Recovery Mode.
- Click Restore.
- Wait for the restoration process to complete.
- Reinstall your iOS 18 backup.
-
Step 1.
Launch Finder on Mac, or Apple Devices on PC

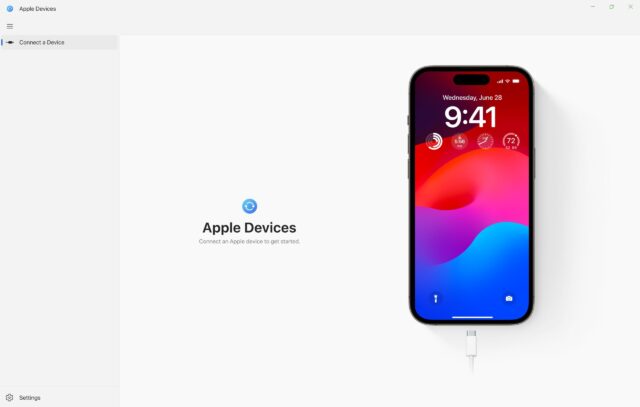
The first step is to open Finder on Mac, or Apple Devices if you’re running a Windows PC or laptop. The latter is available to download on the Microsoft Store if you haven’t installed the software yet.
-
Step 2.
Connect your iPhone to your PC/Mac via cable


The next step is to connect your iPhone to your Mac/PC via either Lightning or USB-C, depending on your phone model. You can’t use wireless connection for this process – only a wired connection will suffice.
-
Step 3.
Put your phone into Recovery Mode


You’ll now need to put your iPhone into Recovery Mode. Forewarning: there’s no going back once you put your iPhone into Recovery Mode, so make sure you’ve saved anything from your time with iOS 26 first.
To put an iPhone 11 or later into Recovery Mode, press and quickly release the Volume Up button, then press and quickly release the Volume Down button. Finally, press and hold the Side button until you see the recovery mode icon.
-
Step 4.
Click Restore


On your PC/Mac, you’ll see a pop-up box appear on screen letting you know that there’s a problem with your iPhone, and asking if you want to restore your device. Click Restore to wipe your device and install the latest public release of iOS – in this case, iOS 18.
-
Step 5.
Wait for the restoration process to complete


Wait for the restoration process to complete – this process can take a while depending on your internet connection, as it requires redownloading iOS 18 first.
-
Step 6.
Reinstall your iOS 18 backup


Once your iPhone has been successfully restored, you’ll be able to follow the setup process and reinstall your iOS 18 backup on your iPhone.
Once complete, your iPhone will be back on the stable release of iOS 18 – though you’ll need to reinstall any apps and redownload photos/videos taken while on iOS 26, as these won’t be included in your older backup.


