Contouring, a technique once reserved for theatrical performers and the film industry, has become a cornerstone in the beauty world. Contouring makeup, when done correctly, can yield a multitude of benefits.
It enhances the natural bone structure, making the face more chiseled and refined. Additionally, contouring can be a powerful tool in photography and special events, where lighting and photography can flatten facial features.
Beyond its aesthetic advantages, contouring has also become a means of self-expression and artistic creativity, enabling makeup enthusiasts to explore and define their personal style.
Contouring Makeup Essentials
Must-Have Brushes for Perfect Contouring
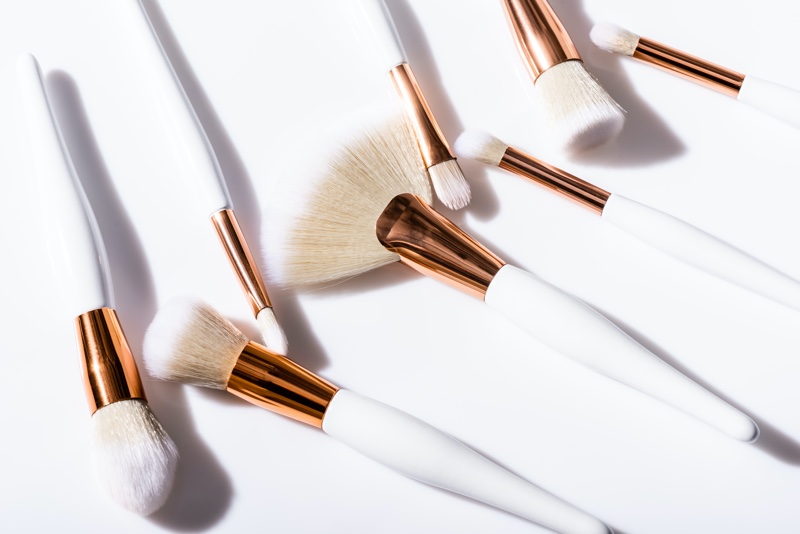
The right tools are as crucial as the technique to achieve the perfect contour. Essential to any contouring kit are brushes and sponges designed specifically for this purpose.
- Angled Brushes: Ideal for creating sharp, defined lines along the cheekbones and jawline.
- Fluffy, Dome-Shaped Brush: Perfect for blending contour powder, ensuring no harsh lines.
- Dense, Flat-Topped Brush/Beauty Sponge: Essential for those using cream or liquid contour products, aiding in stippling and blending for a natural finish.
Preparing Your Skin
Skin preparation is key before diving into the world of shadows and highlights. Start with a cleansed and moisturized face to ensure a smooth canvas. Applying a primer is crucial, as it creates a base that helps makeup adhere better and last longer.
Focus on areas that are prone to be oily or where makeup quickly wears off. A well-prepped skin enhances the application of contour products and ensures a more polished and lasting finish.
Basic Contouring Techniques for Beginners
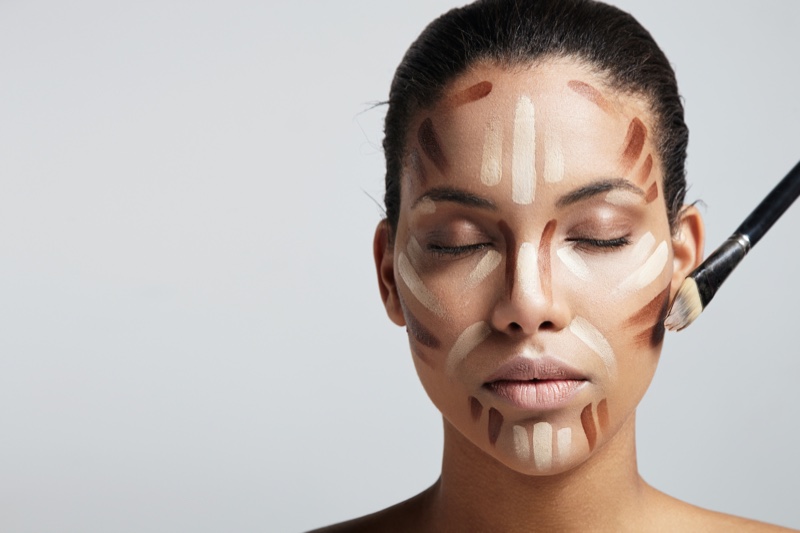
For those new to contouring, start with this simple tutorial. After foundation and concealer, choose a contour shade slightly darker than your skin tone. Choose a highlighter that’s two shades lighter than your skin tone.
1. Where to Put the Contour
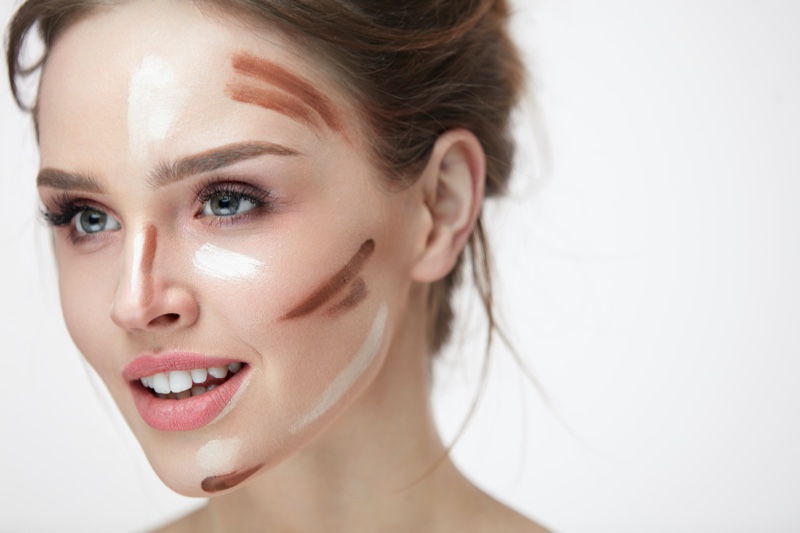
- Forehead: If you have a larger forehead, apply contour along the hairline to create the illusion of a smaller forehead.
- Cheekbones: Suck in your cheeks and apply contour in the hollows, starting from the ear and stopping midway on your cheeks.
- Jawline: Apply contour along the jawline to define and slim the face.
- Nose: For a slimmer nose, draw two lines down from the beginning of your brows towards the nostrils and blend.
2. Highlight for Emphasis
Apply highlighter to areas you want to emphasize:
- The center of the forehead and chin.
- The bridge of the nose.
- Above the cheekbones.
- The cupid’s bow and under the eyebrows.
3. Blending is Key
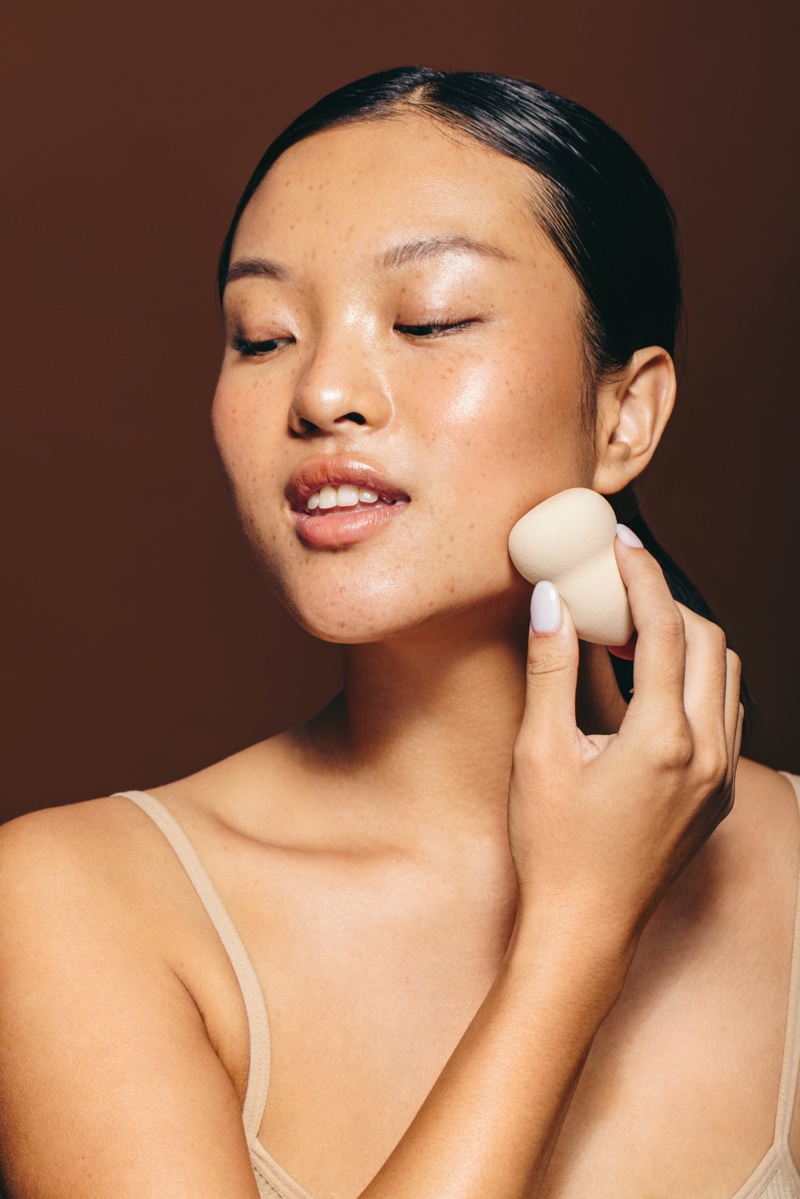
Use a fluffy brush or a beauty sponge to blend the contour and highlight seamlessly. The goal is to avoid harsh lines for a natural look.
4. Set Your Makeup
Set it with a translucent or setting powder to ensure your contour lasts all day. This will help to lock the product in place and prevent it from fading or smudging.
Quick Tips
Sculpting the jaw: When contouring the jawline for a tightened look, gently sweep a contour shade slightly darker than your skin tone along the jawline from the chin to the ear, creating a subtle shadow. More permanent ways to create jawline tightening include radio frequency treatments or firming creams.
Blending issues: If you’re having trouble blending your contour, try applying a thin layer of translucent powder before blending. This will create a smooth base and help the product blend seamlessly.
Contour color selection: If you’re struggling to find the right contour shade for your skin tone, mix different shades or try using a slightly darker one.
Other Techniques

Draping Technique: This technique, echoing 80s makeup, uses blush for contouring, creating a lifted and youthful look. Blush is applied in a C-shape from the apples of the cheeks to the temples, merging retro style with contemporary beauty trends.
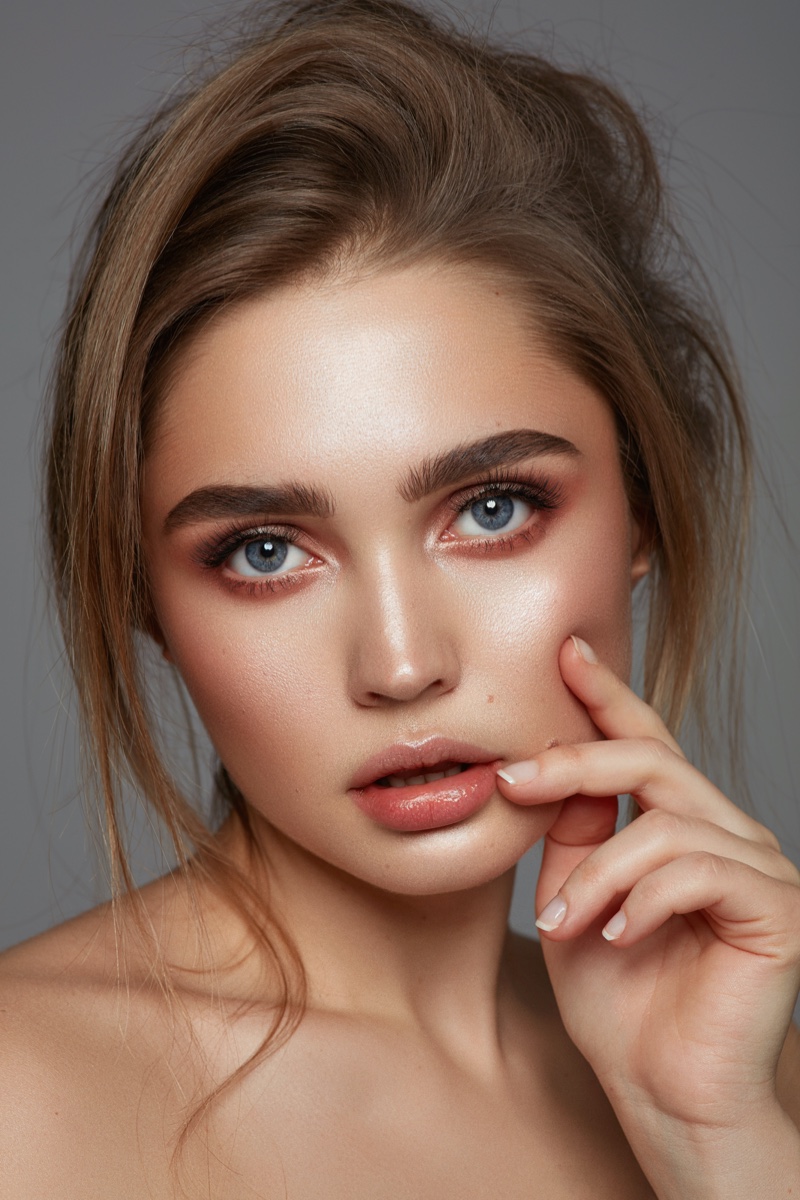
Sun-kissed Technique: Aimed at creating a natural, sun-touched glow, this method involves applying bronzer or contouring powder to sun-prone areas like the forehead, nose bridge, and cheekbones.
It showcases a warm, radiant complexion reminiscent of a leisurely day under the sun, enhancing the face’s natural warmth.
Strategies for Different Face Shapes
Contouring can be tailored to enhance different face shapes, creating balance and symmetry. Always blend towards the neck no matter your face shape to avoid visible lines. Highlighting complements contouring by accentuating the center of the forehead, brow bones, cheekbones, and chin, bringing balance to the contoured areas.
Oval Faces

- Target Areas: Lightly contour the sides of your forehead and the area just below your cheekbones to enhance your face’s natural shape.
- Objective: The goal is to add subtle dimension and depth, highlighting the natural curves of your oval face.
- Technique Tips: Use a light touch when contouring the forehead to avoid overwhelming your face’s natural balance. You should follow the natural bone structure to enhance depth when working below the cheekbones.
Round Faces

- Target Areas: Contour along the sides of your forehead, directly under your cheekbones, and along the jawline.
- Objective: This approach aims to create more defined angles and structure, giving the face a more sculpted look.
- Technique Tips: Focus on elongating the face by creating shadows that mimic a more angular structure. Blend well to ensure a natural transition from the contoured areas to your natural skin tone.
Square Faces

- Target Areas: Apply contour subtly to the corners of your forehead and along the jawline.
- Objective: The main aim is to soften the natural angles of a square face, creating a slightly more rounded and softer appearance.
- Technique Tips: Use a circular motion to blend the contour around the jawline and forehead. This technique helps to diffuse the natural sharpness of square face shapes gently.
Heart-Shaped Faces

- Target Areas: Contour the sides of the forehead and along the jawline, focusing particularly on areas that align with a narrower chin.
- Objective: The focus is on creating balance and symmetry between the broader forehead and the narrower chin.
- Technique Tips: Apply the contour to slightly narrow the forehead, while gently emphasizing the jawline. This creates a balance between the upper and lower parts of the face.
Powder v Liquid v Cream Contouring
In contouring, the choice of product type holds as much significance as the skill of application. Powder contours are known for their ease and subtlety, and are ideal for beginners or those seeking a gentle enhancement. They are particularly compatible with oily skin, offering a refined, matte finish that has become a staple in many makeup wearers’ bags.
Cream contours are favored for creating a more pronounced, sculpted look. They are especially beneficial for dry or mature skin, imparting a dewy, moisturized glow. The innovation of stick contours has introduced plenty of convenience, enabling precise application and effortless blending, perfect for quick adjustments.
While less common, liquid contours offer a unique blend of sheer, buildable coverage, suitable for a subtly sculpted effect. Each type demands specific tools and techniques. Powders blend best with brushes, creams meld smoothly with sponges or fingers, and sticks and liquids require careful blending for a polished finish.
Common Contouring Mistakes and How to Avoid Them
Over-Contouring and Its Impact on Your Look
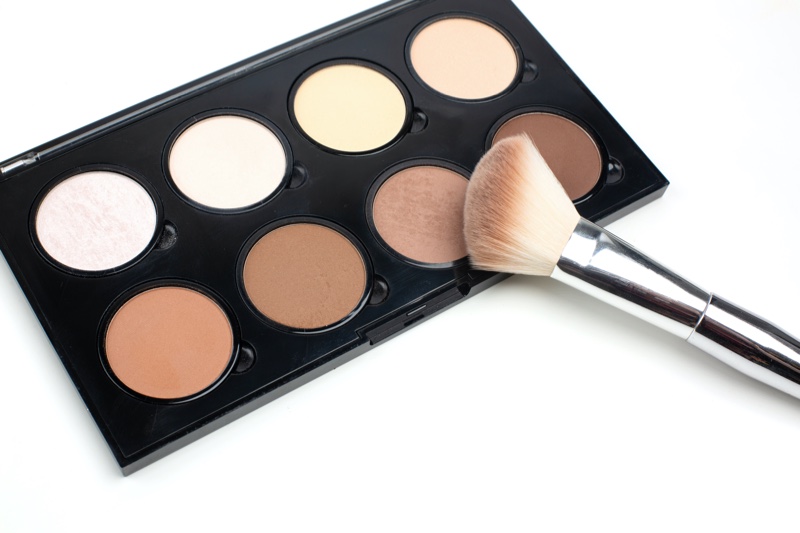
One of the most common pitfalls in contouring is overdoing it, which can lead to an unnatural and harsh appearance. Over-contouring often results from using too much product or choosing shades that are too dark for your skin tone.
To avoid this, start with a light hand and build the product gradually. It’s essential to blend thoroughly, ensuring there are no stark lines or patches. A good rule of thumb is to step back and check your makeup in natural light, which can be more forgiving and provide a better perspective on how your contour looks.
Blending Techniques: Ensuring a Seamless Finish
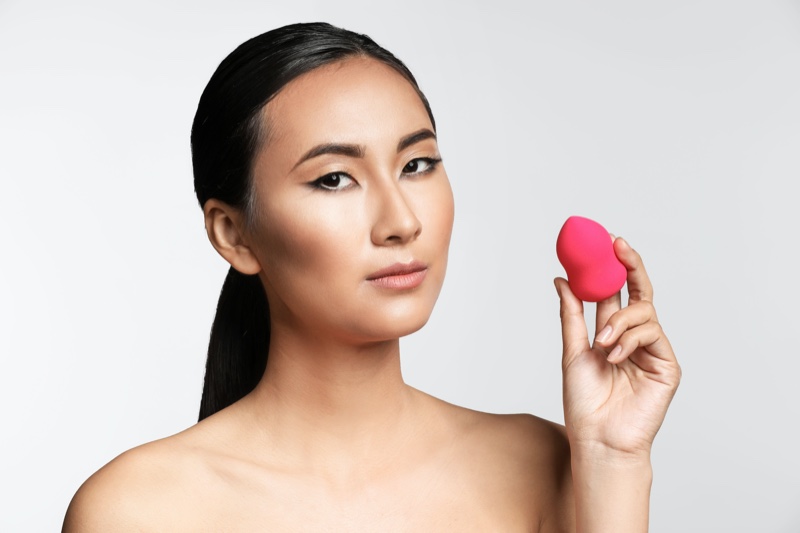
The secret to a natural and effective contour is blending. Poor blending can leave visible lines and patches, disrupting the overall makeup look. To achieve a seamless blend, use a clean, fluffy brush or a damp beauty sponge and blend in circular motions.
Focus on the edges of the contour to diffuse any harsh lines. For cream or liquid products, a damp sponge works exceptionally well in pressing the product into the skin for a more skin-like finish.
Remember, blending takes time and patience, but the result is a beautifully sculpted, natural-looking face.
Sculpting Your Best Self
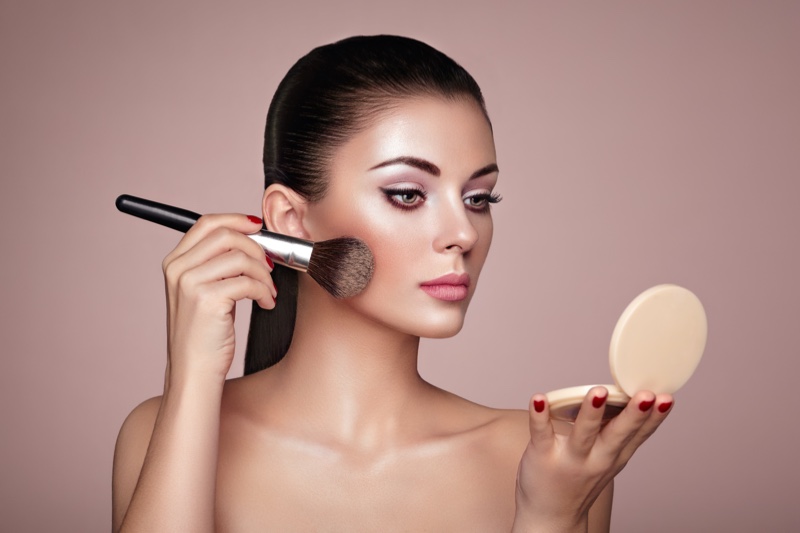
Embracing contouring makeup enhances your physical features and provides the art of transformation and self-expression. As you’ve learned, the right tools and techniques can dramatically alter and improve your facial structure, from a refined jawline to elegantly highlighted cheekbones.
But remember the true beauty of contouring lies in its ability to reflect your personal style and creativity. Whether you’re aiming for a subtle, natural look or a bold, dramatic effect, the power of contouring is in your hands.

