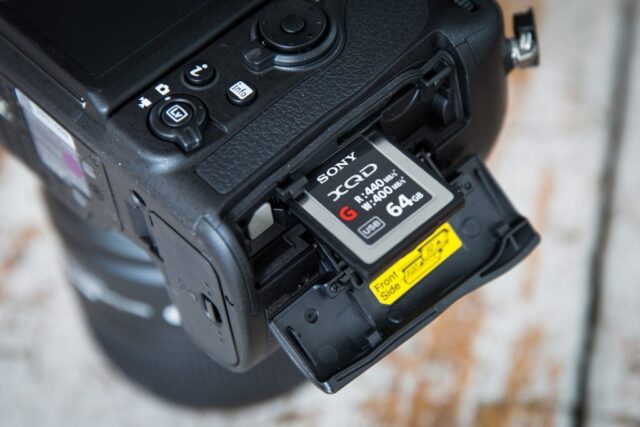
If you’re looking to test the read and write speed on an SD card, you’ve come to the right place.
You can find the read and write speed of your SD card printed on the card, but you can also experience those speeds yourself using a device you probably already have at home – your PC. Windows 10 and 11 offer a built-in tool that allows you to monitor the read and write speeds of your SD cards on your PC or laptop in real-time.
Keep reading to learn how to test your own SD cards at home.
What you’ll need
- An SD card
- A laptop or PC running Windows 10 or later
The Short Version
- Open up Task Manager
- Go to the Performance tab
- Select your SD card
- Look toward the bottom of the screen
How to test the read and write speeds of your SD card
-
Step
1Open up Task Manager
You can find this app pre-installed on any Windows PC. You’ll also want to insert your SD card into the slot on your laptop if you haven’t already done so.

-
Step
2Go to the Performance tab

This is the tab on the left hand side of the Task Manager. If you’re not sure which is which, just hover over the icons until you find the one labelled Performance.

-
Step
3Select your SD card

If you’re not sure which one is your SD card, you can check in the File Explorer. Alternatively, you can disconnect and reconnect your SD card and check the notification in the bottom right corner.

-
Step
4Look toward the bottom of the screen

This is where you’ll find the read and write speeds! Transfer files to/from the SD card to see these numbers change in real-time.

Troubleshooting
If you want to learn more about your SD card, including more in-depth results for your read and write tests, you may want to look into investing in third-party software designed for this purpose.
If your laptop doesn’t include an SD slot, we’d recommend picking up a dongle or adapter that supports SD cards.


