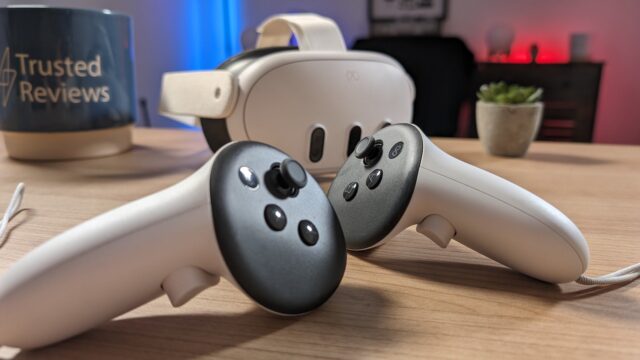
The Meta Quest 3 provides an outstanding virtual reality experience, well worth sharing with your family and friends. In fact, the VR headset can take screenshots and record videos for this exact reason, but how do you get them from your headset to your phone?
While it was once a bit of a process getting captures from your headset to a smartphone or other device for sharing, Meta has since streamlined the process. You just need the Meta Quest app on your smartphone.
With that in mind, here’s how to get Quest 3 screenshots and videos onto your smartphone. It’s worth noting that the process is the same for the older Quest 2, too.
What you’ll need:
- A Meta Quest 2 or Quest 3 headset
- A smartphone
- The Meta Quest app
The Short Version
- Link your headset and the smartphone using the Meta Quest app.
- Put on your VR headset.
- Select the app browser.
- Open the Files app.
- Click the cloud icon to enable automatic media syncing.
- Open the Meta Quest app on your smartphone.
- Tap the Gallery icon.
- Tap the image or video you’d like to save.
- Tap the download icon to save the image or video to your gallery.
-
Step
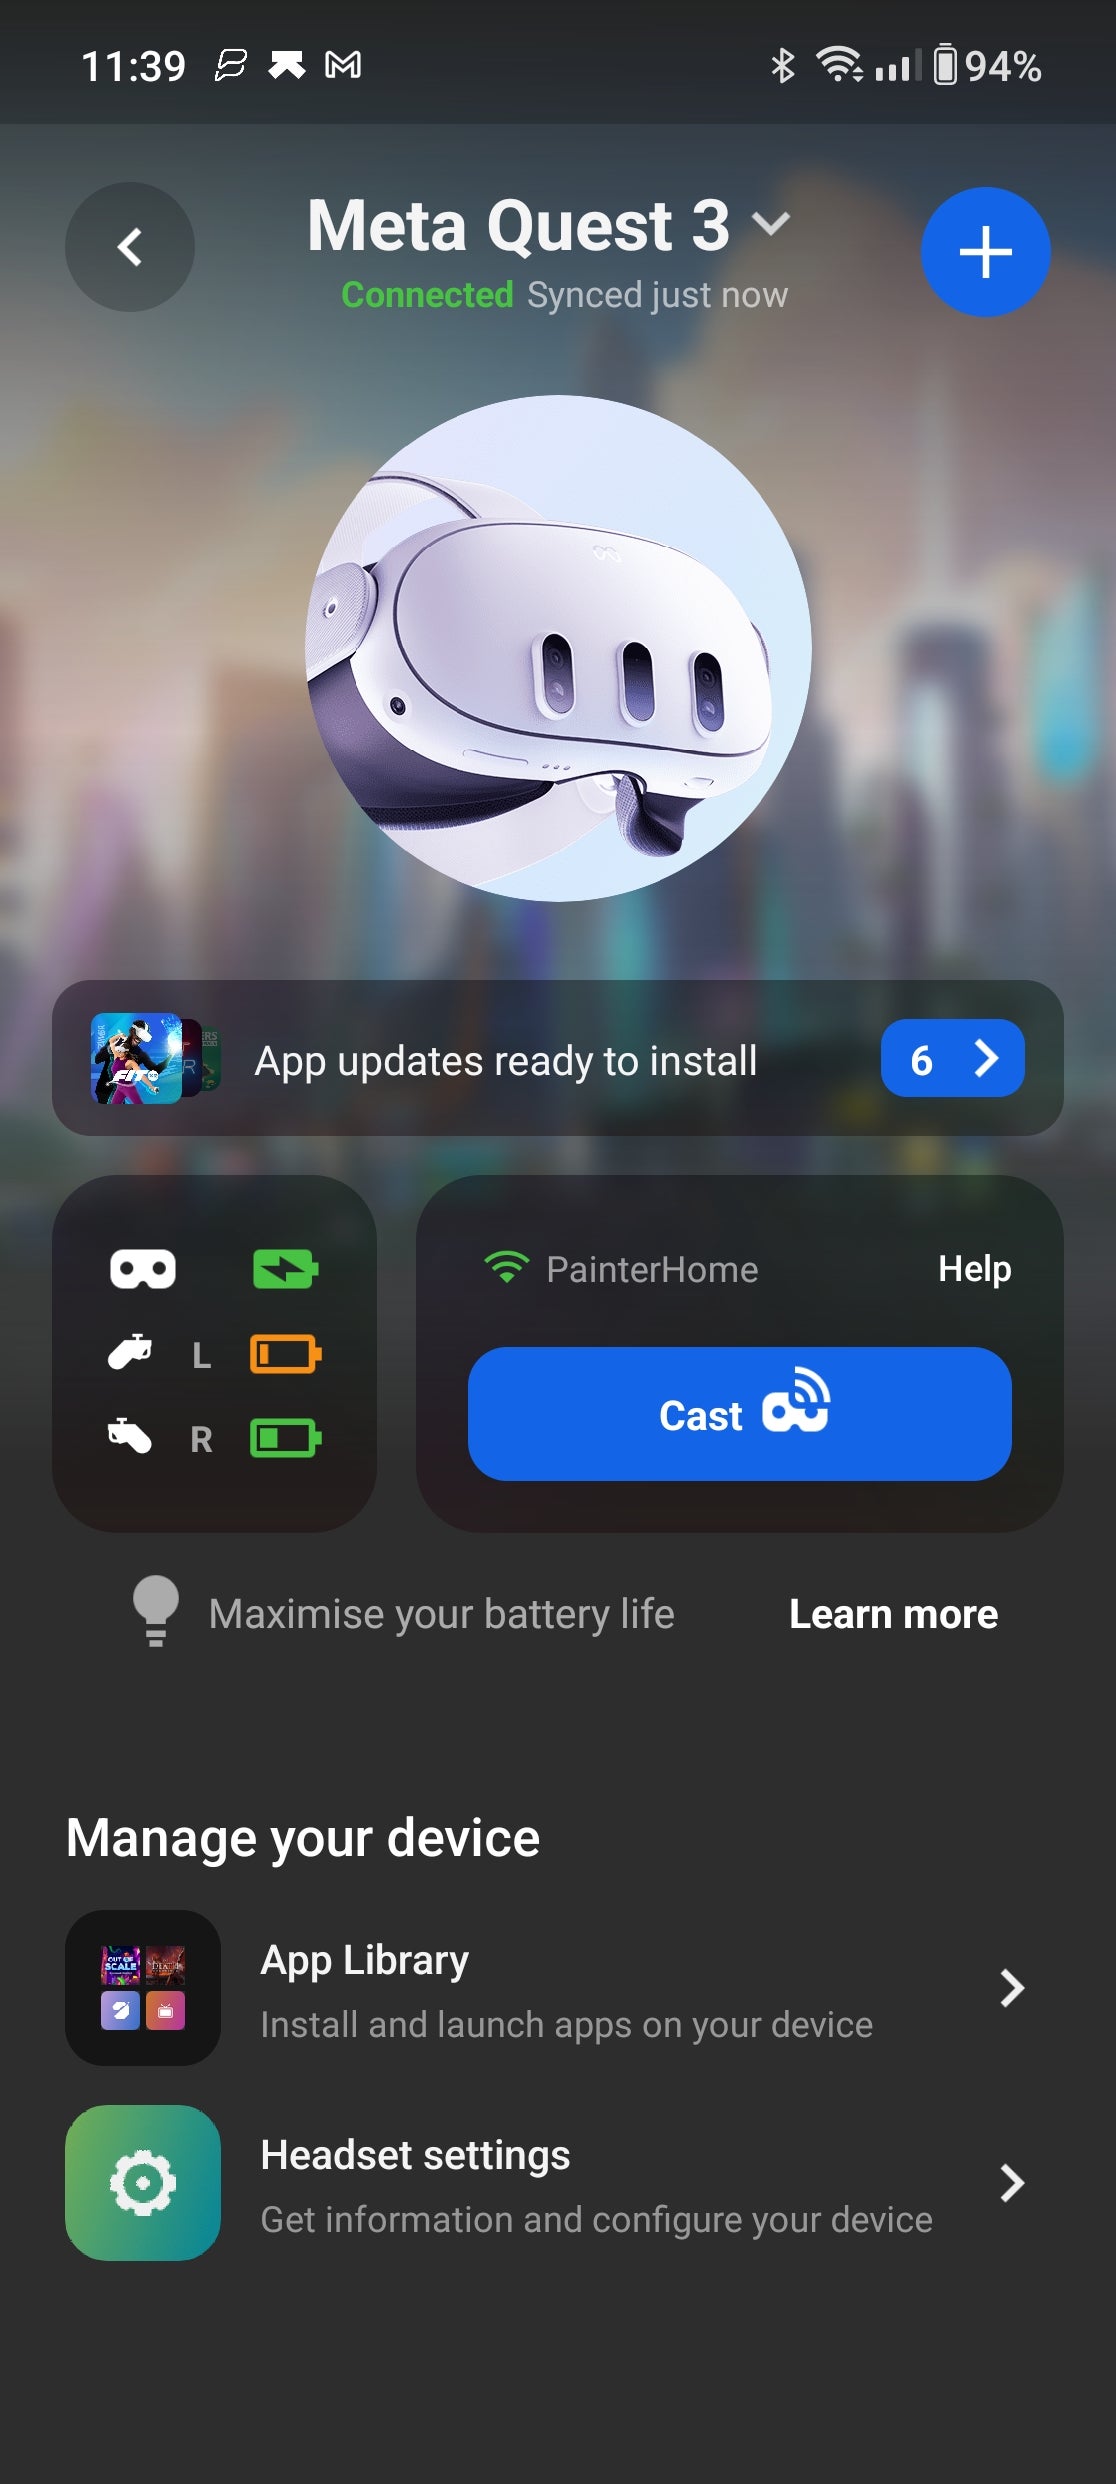
1The first step is to link your VR headset and your smartphone using the Meta Quest app – something most users would’ve done during the initial headset setup. If you haven’t, simply log in with your associated Meta or Facebook account to begin the linking process.
-
Step
2Put on your VR headset
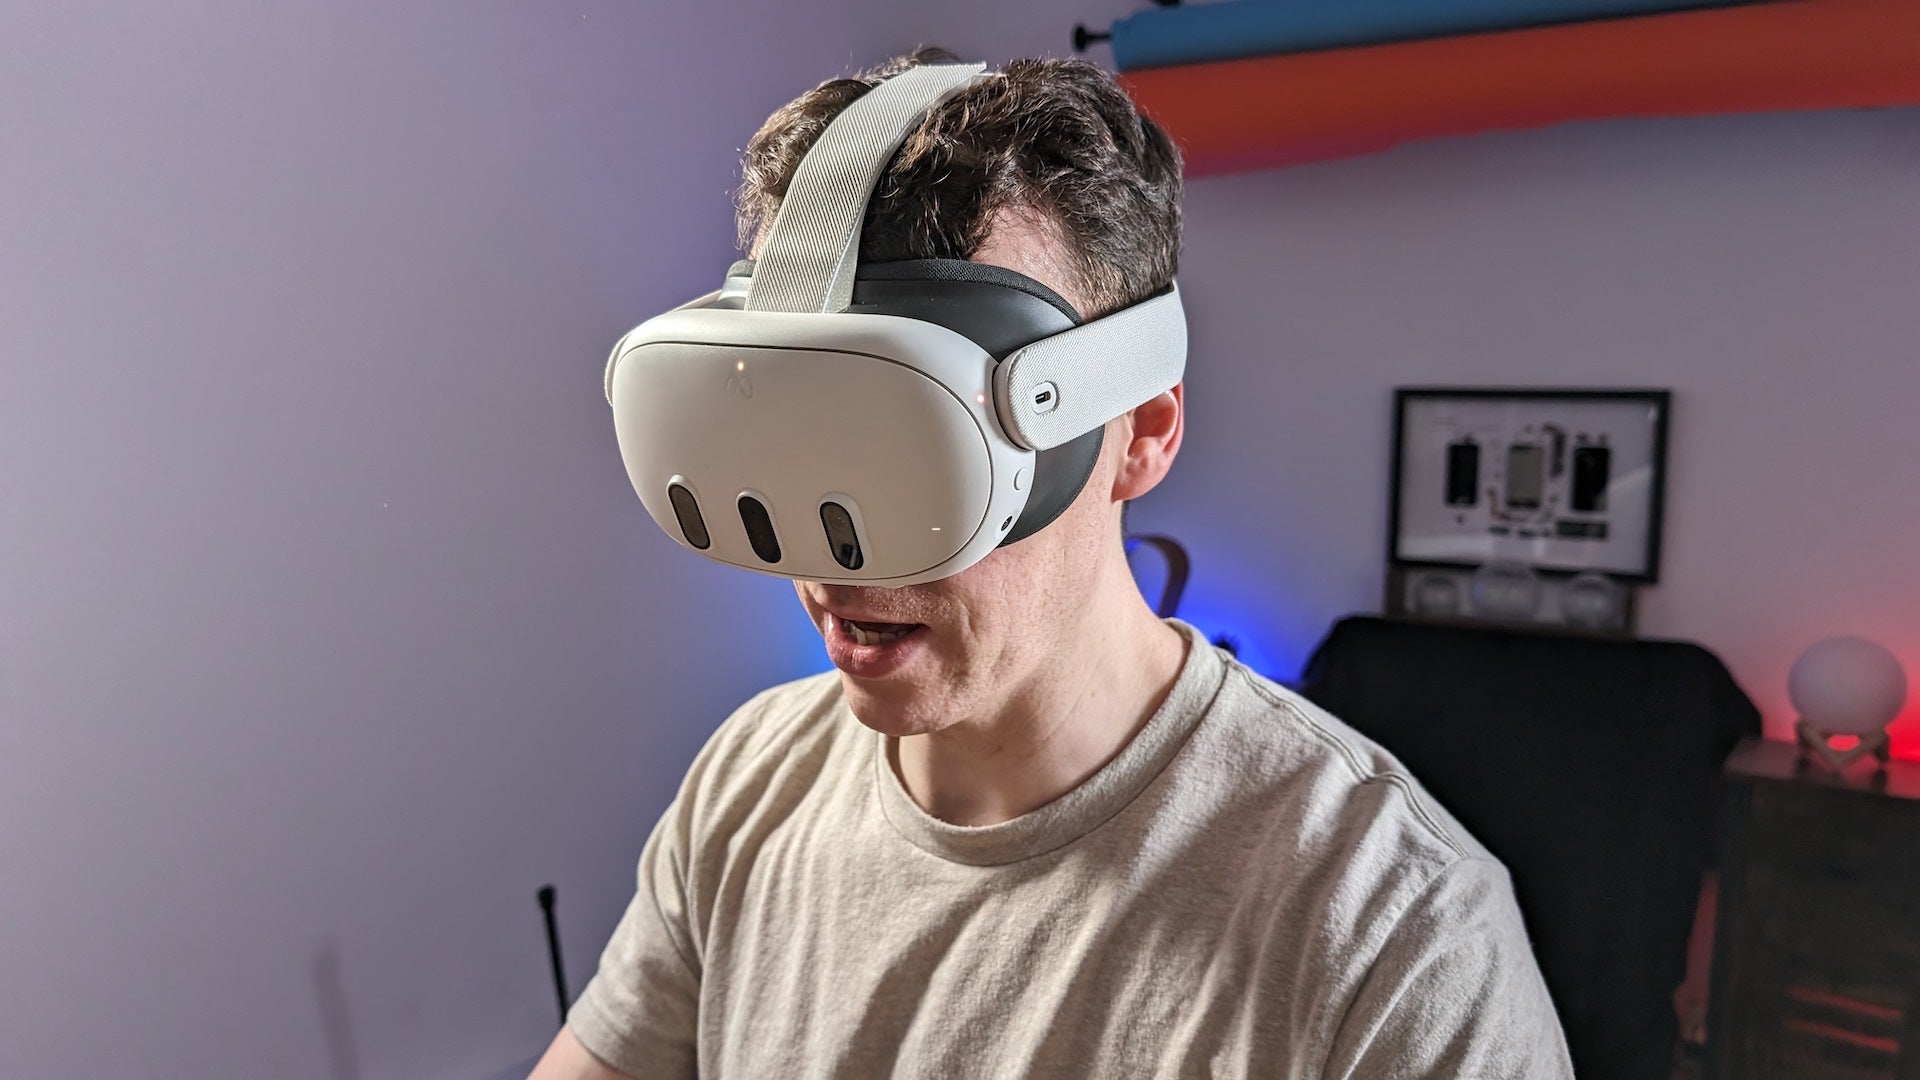
The next step is to put your Quest headset on and enter the world of virtual reality.

-
Step
3Select the app browser
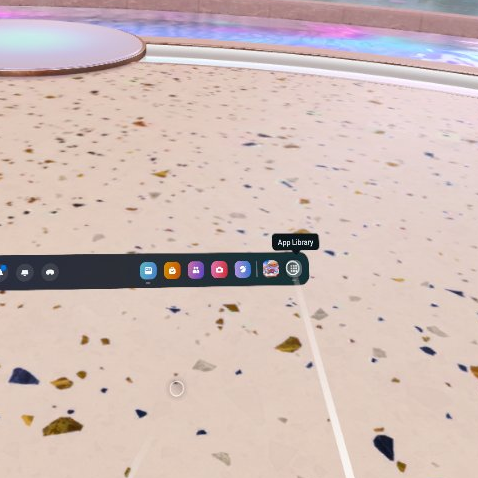
From the main toolbar, select the app browser. It’s the last icon on the right-hand side of the toolbar, for those unfamiliar.

-
Step
4Open the Files app

From your list of installed apps, open the Files app.

-
Step
5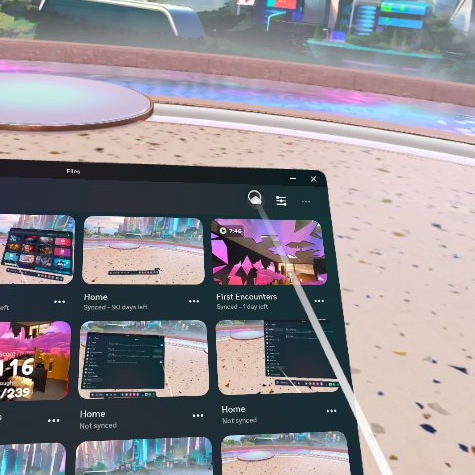
Click the cloud icon in the top-right corner to enable automatic media syncing if it isn’t on already.

-
Step
6
Take off your headset and open the Meta Quest app on your connected smartphone.

-
Step
7Tap the Gallery icon
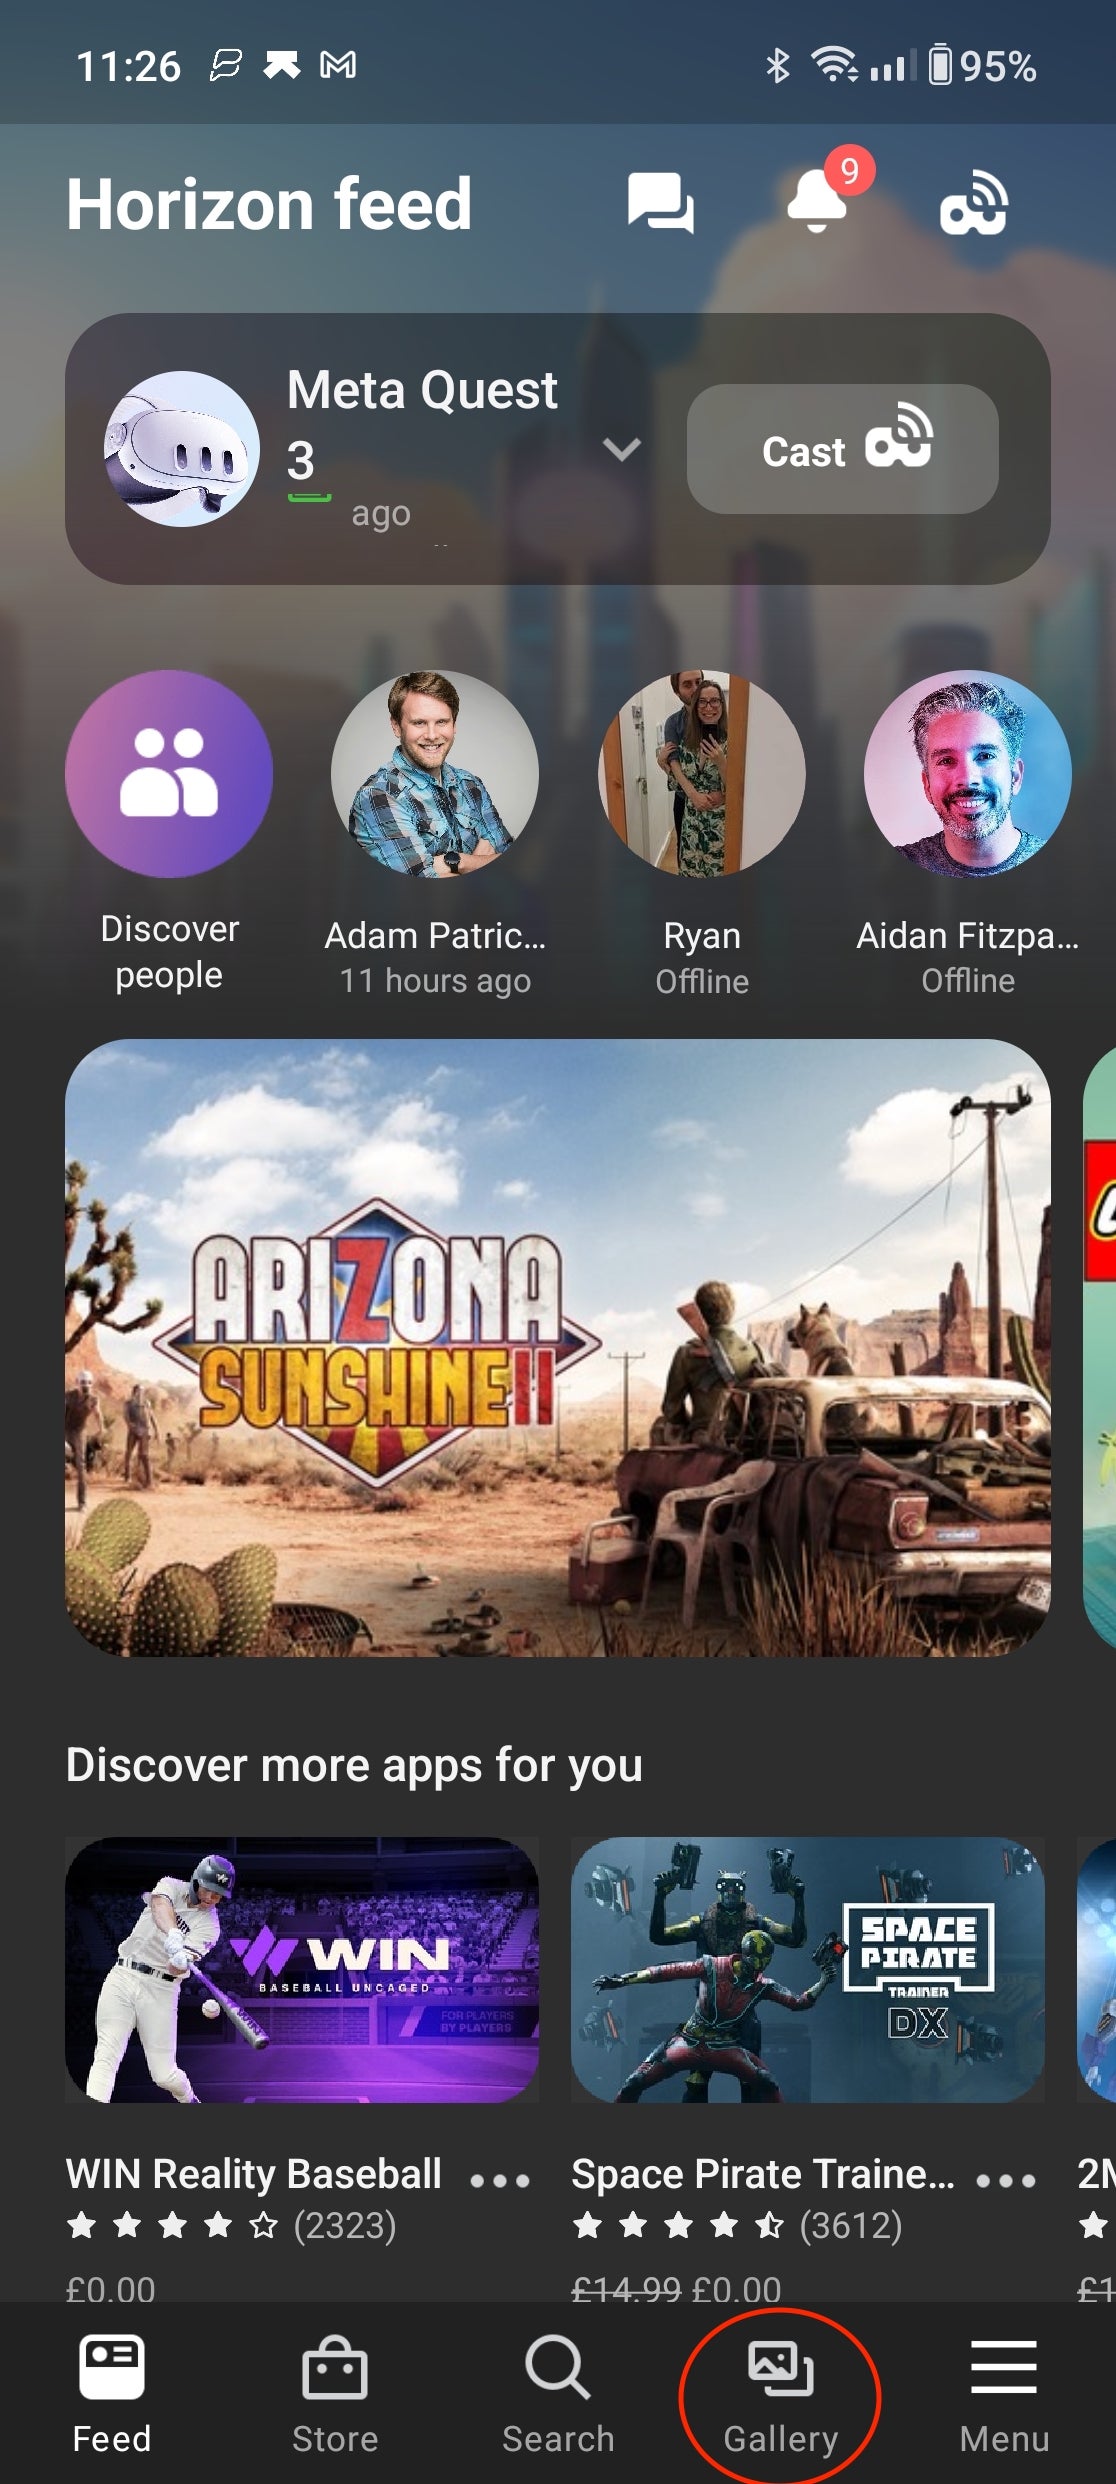
From the Meta Quest app, tap the Gallery icon in the app toolbar.

-
Step
8Tap the image or video you’d like to save
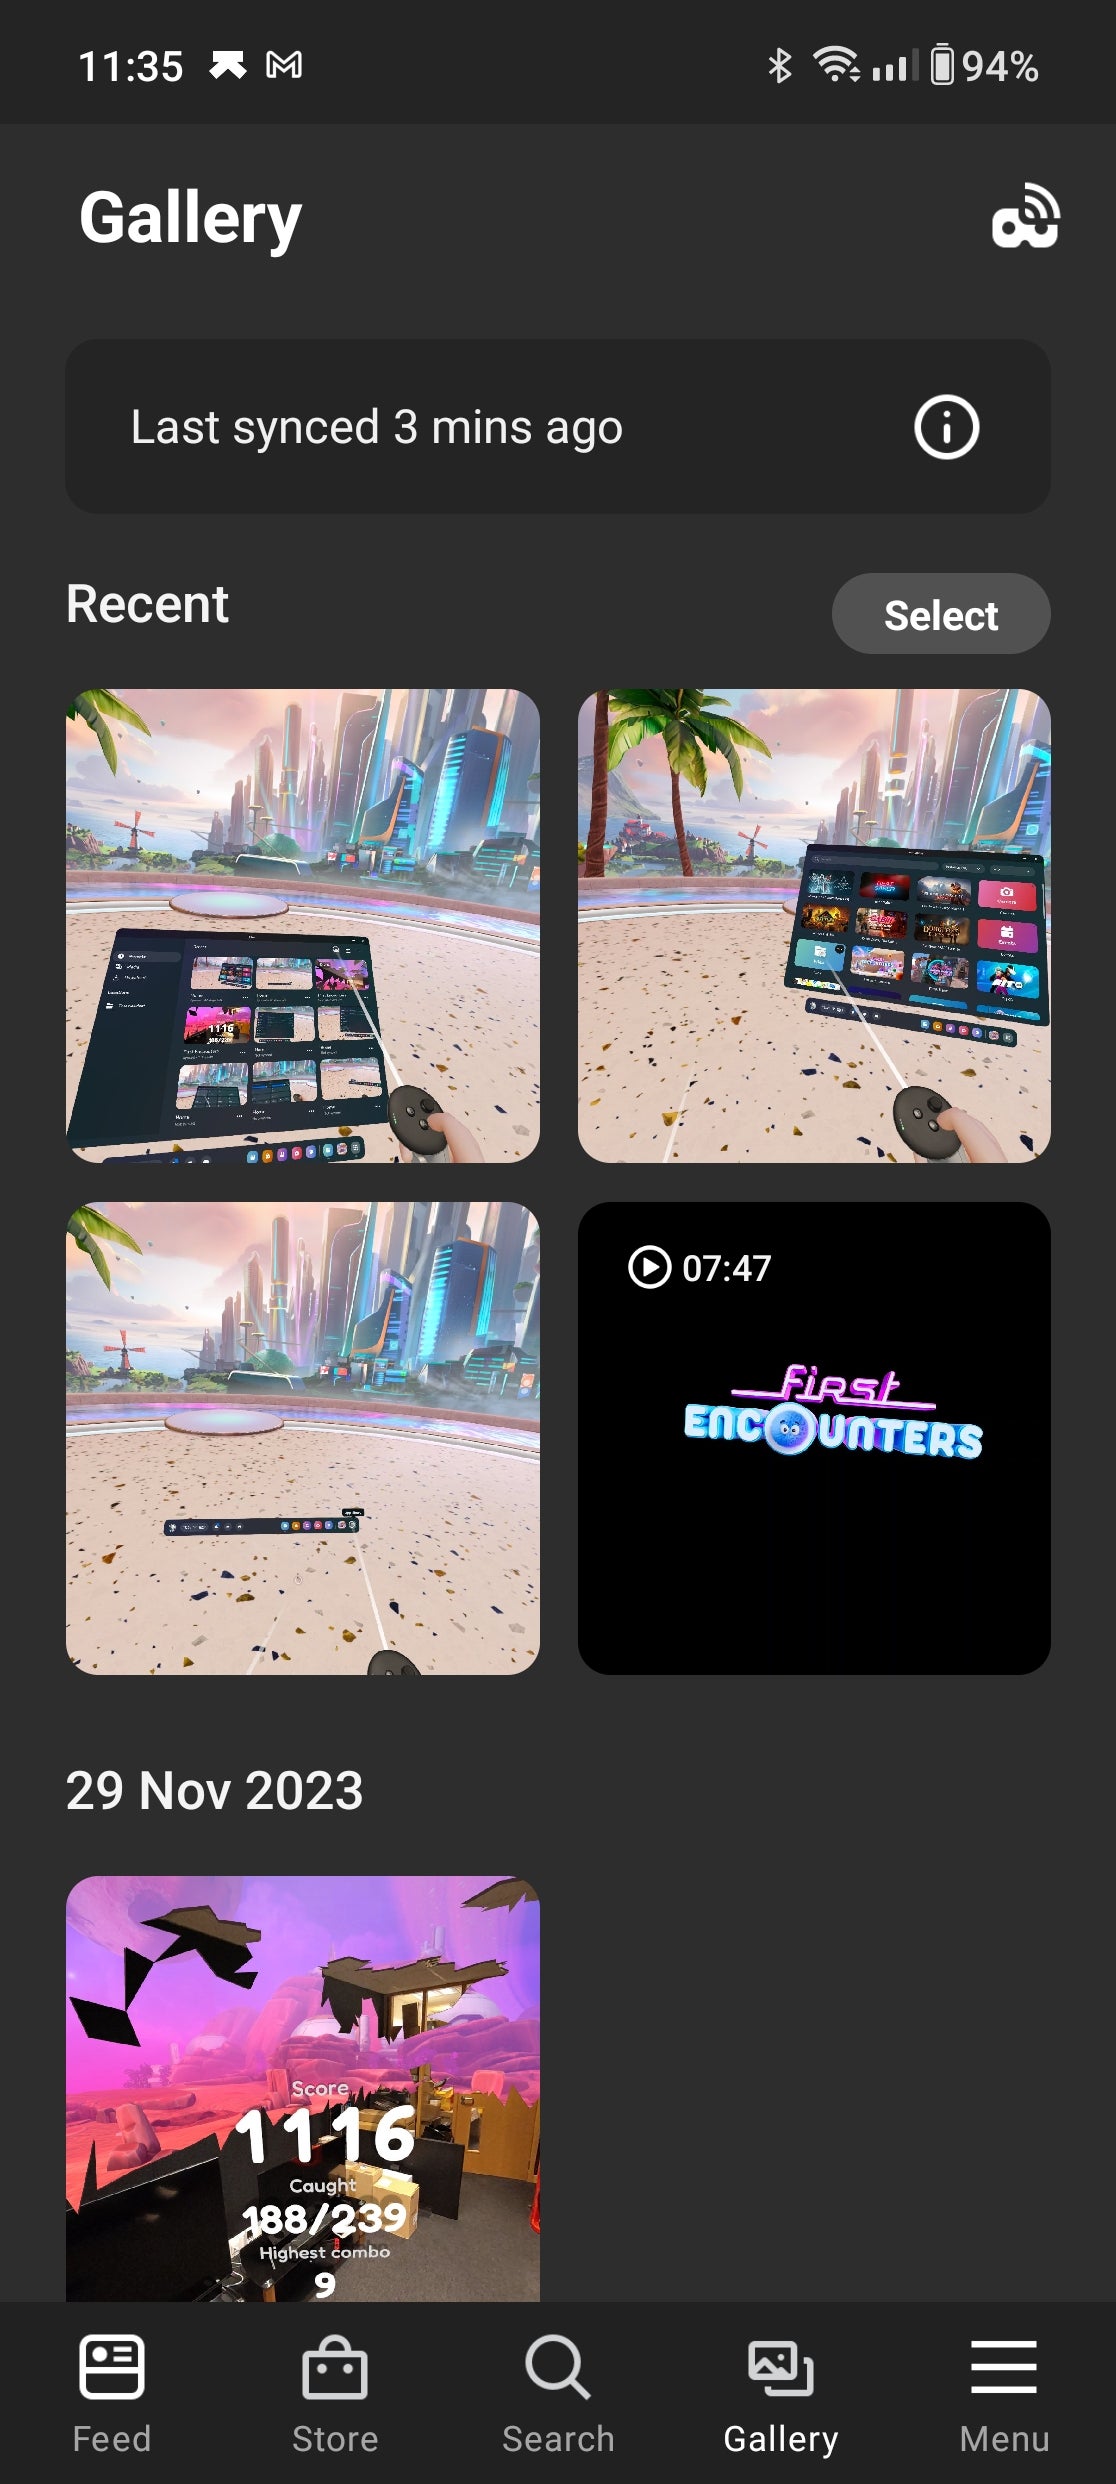
You’ll be presented with a list of recently captured screenshots and videos. To save a photo or video to your smartphone, tap it.

-
Step
9Tap the download icon to save the image or video to your gallery
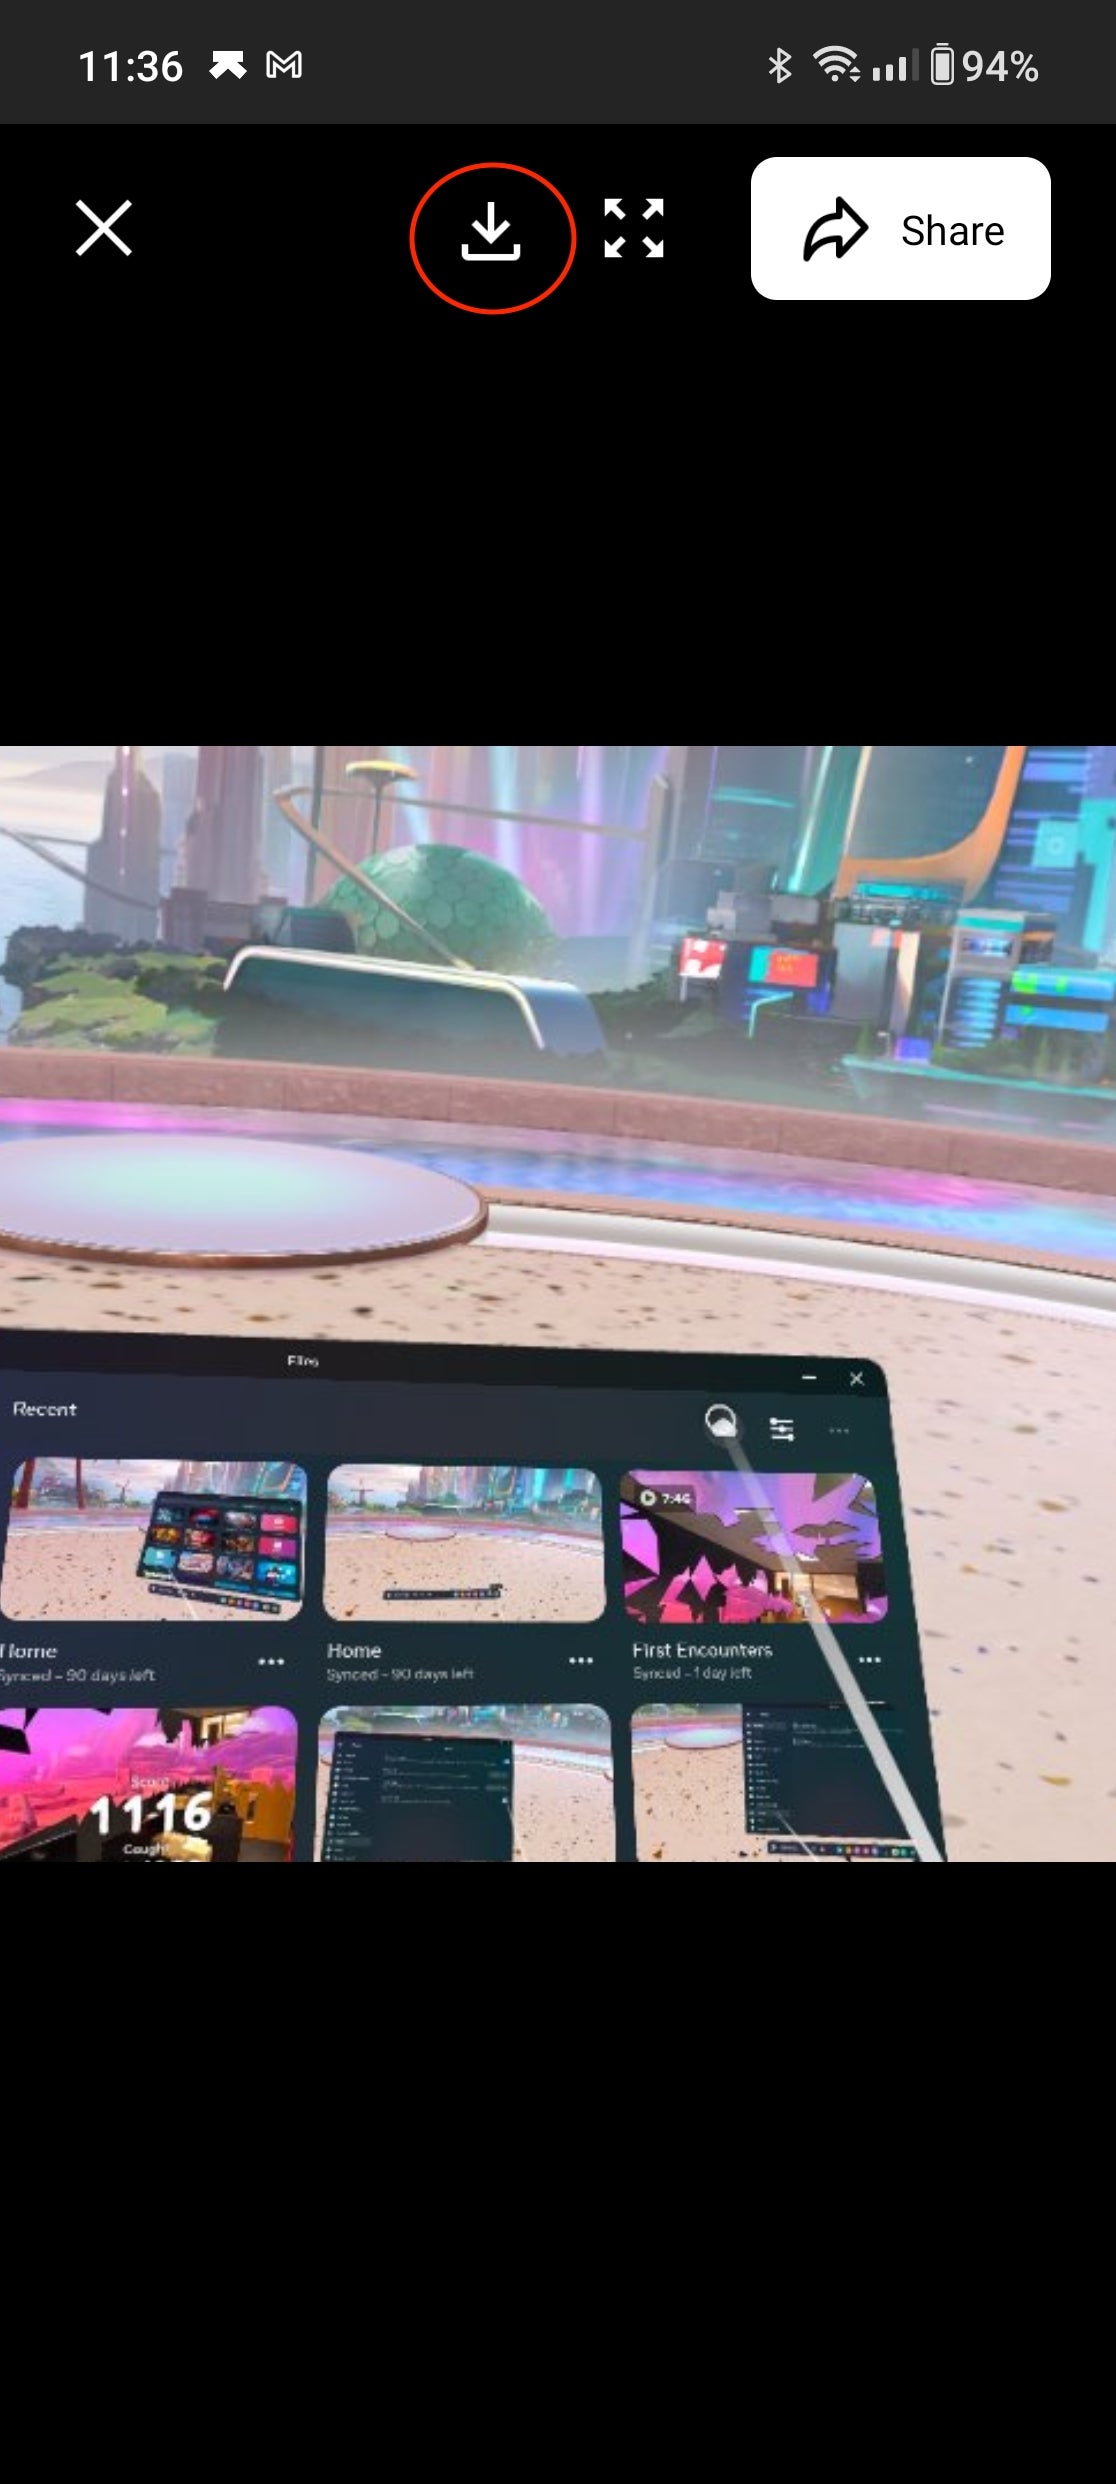
From the preview, tap the download icon at the top of the screen to save the image or video to your phone’s gallery, ready for sharing on social media. It’s worth noting that longer video downloads may take a while to complete.

Troubleshooting
For VR content to be synced with your smartphone, it must be both on and idle. The sync will stop if you open another app in VR, if the headset disconnects from Wi-Fi or is turned off completely.
Longer video captures can take a while to sync with your headset. It’s also worth noting that the app won’t automatically sync videos longer than one minute. For that, you’ll need to manually sync the video from the Files app in-headset.

