iOS 17 introduces a number of handy new features, including Check-In, Standby Mode and Contact Posters, a new way to display caller information. But what is it and how do you set it up?
The idea behind Contact Posters is a simple one; rather than just displaying whatever name you’re stored as on your friend or family member’s phone, Contact Posters enhance the Caller ID screen.
You can not only add your name, but a full-screen photo and other effects to make it easier to see who’s calling at a glance, and this will appear on anybody’s iPhone running iOS 17 when you give them a call.
It’s a cool feature for iPhone users running the iOS 17 public beta, but in true Apple fashion, it’s not something you’ll be automatically prompted to set up once you’ve upgraded to Apple’s latest software update. Instead, it’s something you’re left to discover yourself.
Well, not any more. We at Trusted Reviews have been running the iOS 17 public beta for the past few weeks, and here, we’ll explain exactly what you need to do to create a Contact Poster in iOS 17. The best part? It’s not just limited to your own contact details.
What you’ll need:
- An iPhone
- iOS 17 public (or developer) beta
The Short Version
- Open the Contacts app.
- Tap your Contact at the top of the page.
- Tap Contact Photo & Poster.
- Tap Edit.
- Tap Customise.
- Tap Poster.
- Customise your Contact Poster.
- Tap Done to save your changes.
- Tap the new Contact Poster to use it.
-
Step
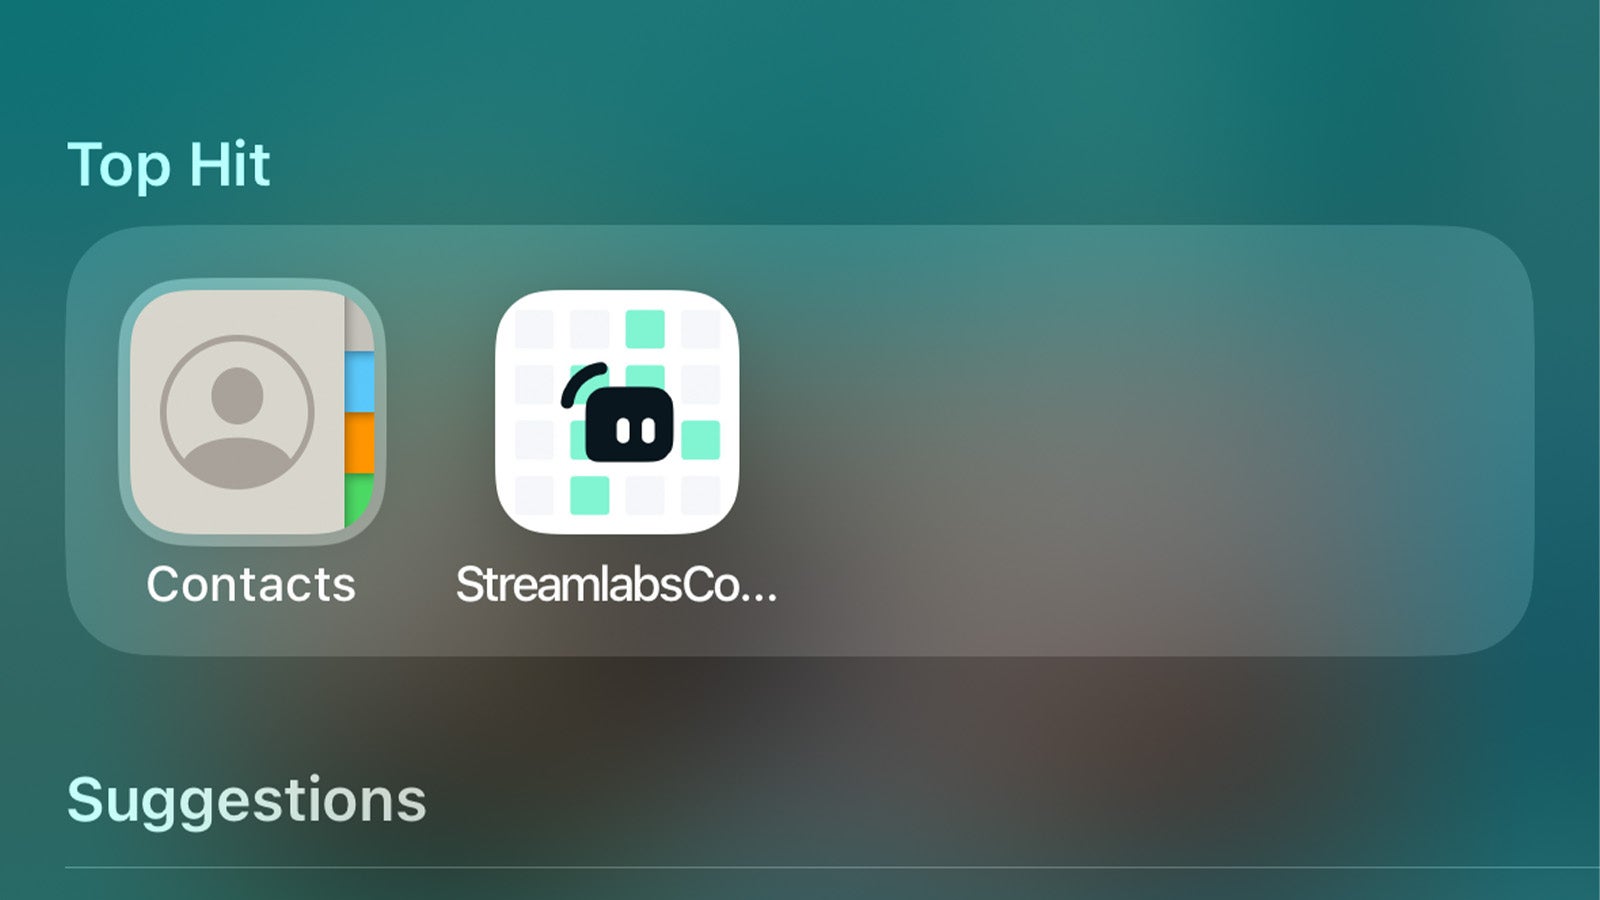
1The first step is to open the Contacts app – the app with an address book icon, if you’re unfamiliar. It’s usually on the first page of the Home screen by default, but you might’ve moved or removed it since you got your iPhone.
-
Step
2Tap your Contact at the top of the page
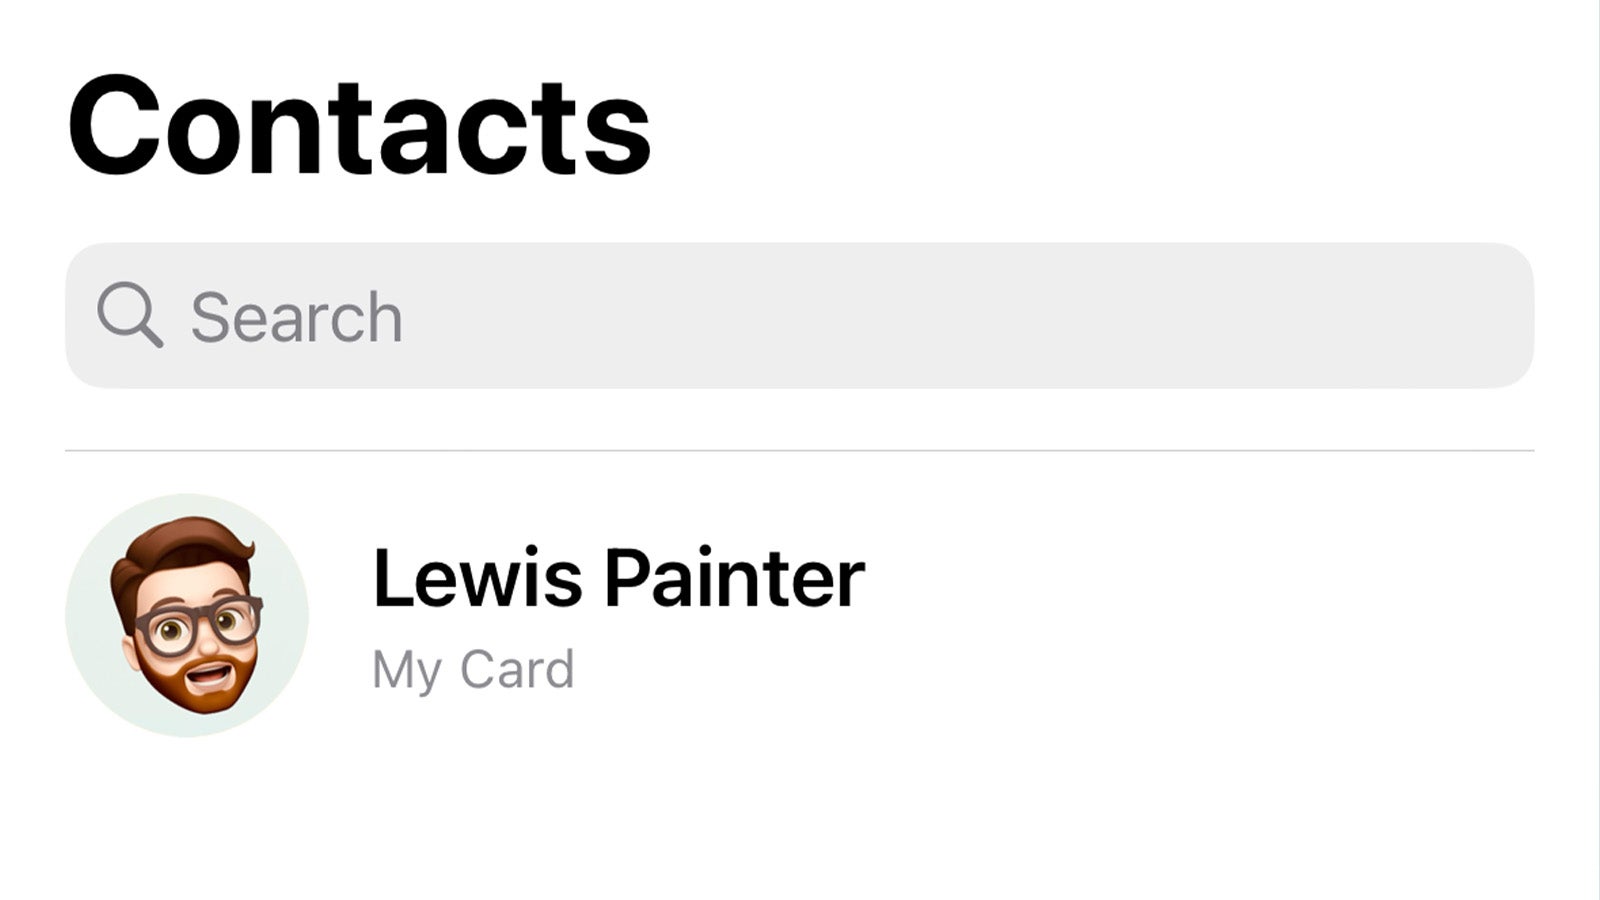
Tap on your contact at the top of the list of your contacts.

-
Step
3Tap Contact Photo & Poster

Tap Contact Photo & Poster to start the setup process on your Contact Poster.

-
Step
4Tap Edit

From this menu, you’ll preview your current Contact Photo and Contact Poster. To customise either, tap the Edit button.

-
Step
5Tap Customise
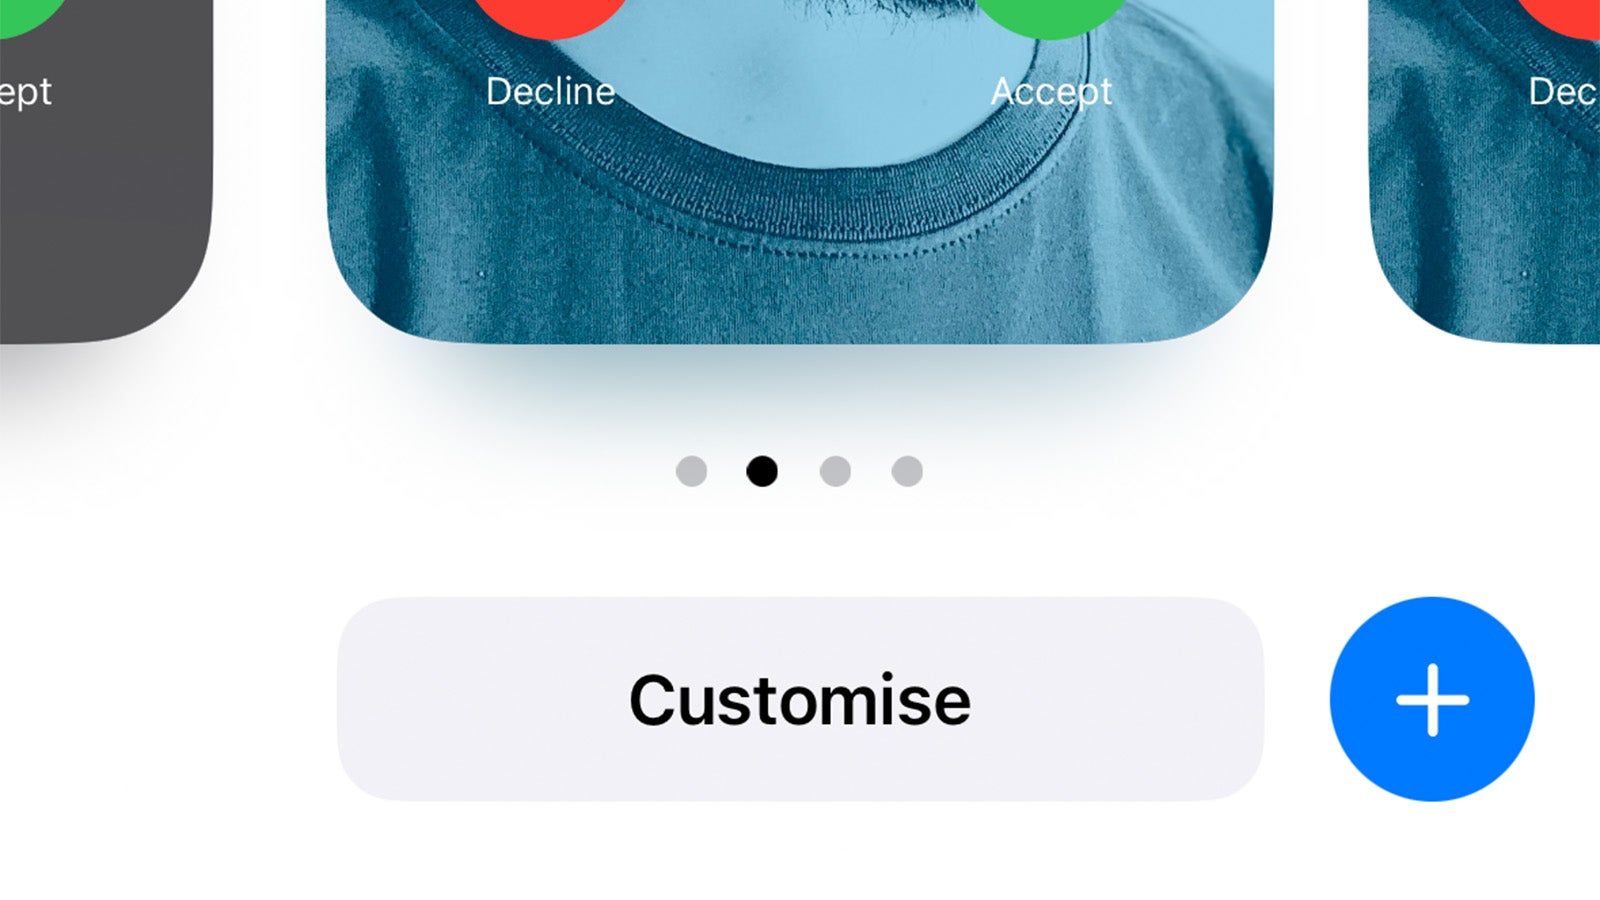
Swipe between the various Contact Posters (you can create multiple and switch between them as you see fit) and find one you’d like to edit. Tap Customise beneath the preview to get started.

-
Step
6Tap Poster
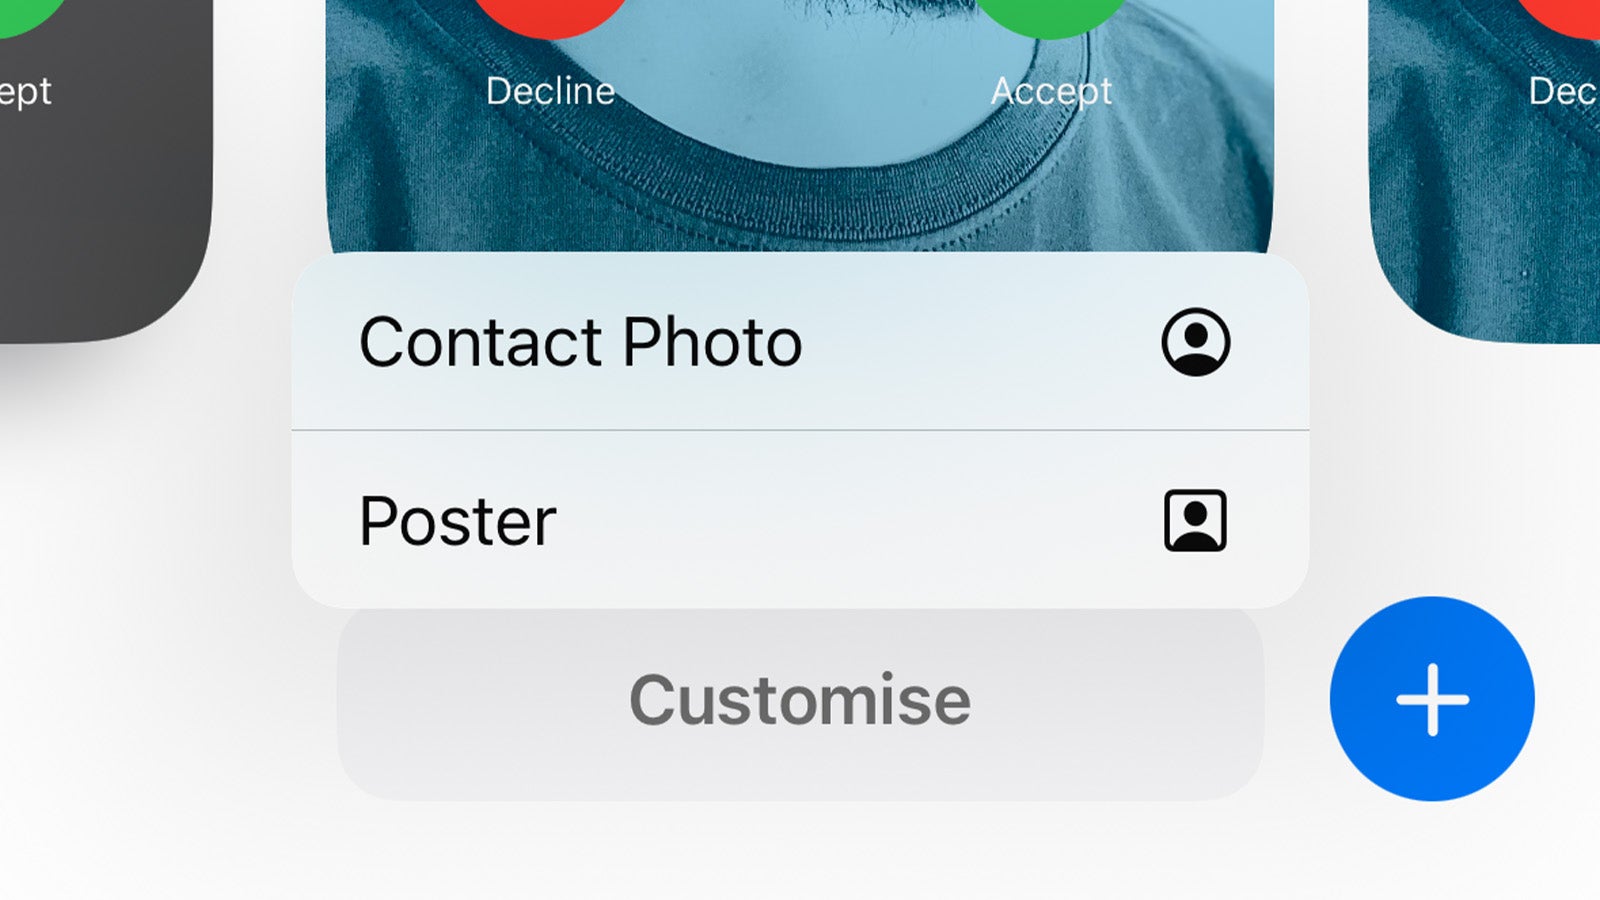
You’ll then be asked whether you want to customise the Contact Photo (the small thumbnail image shown in Messages and other apps) or the Poster. Tap Poster to continue.

-
Step
7Customise your Contact Poster

From here you can customise your Contact Poster however you’d like; tap the name to adjust not only the name but the font, size and colour, add a photo of you (portrait images work best here) and add one of a number of lock screen-esque image effects to complete the look.

-
Step
8Tap Done to save your changes
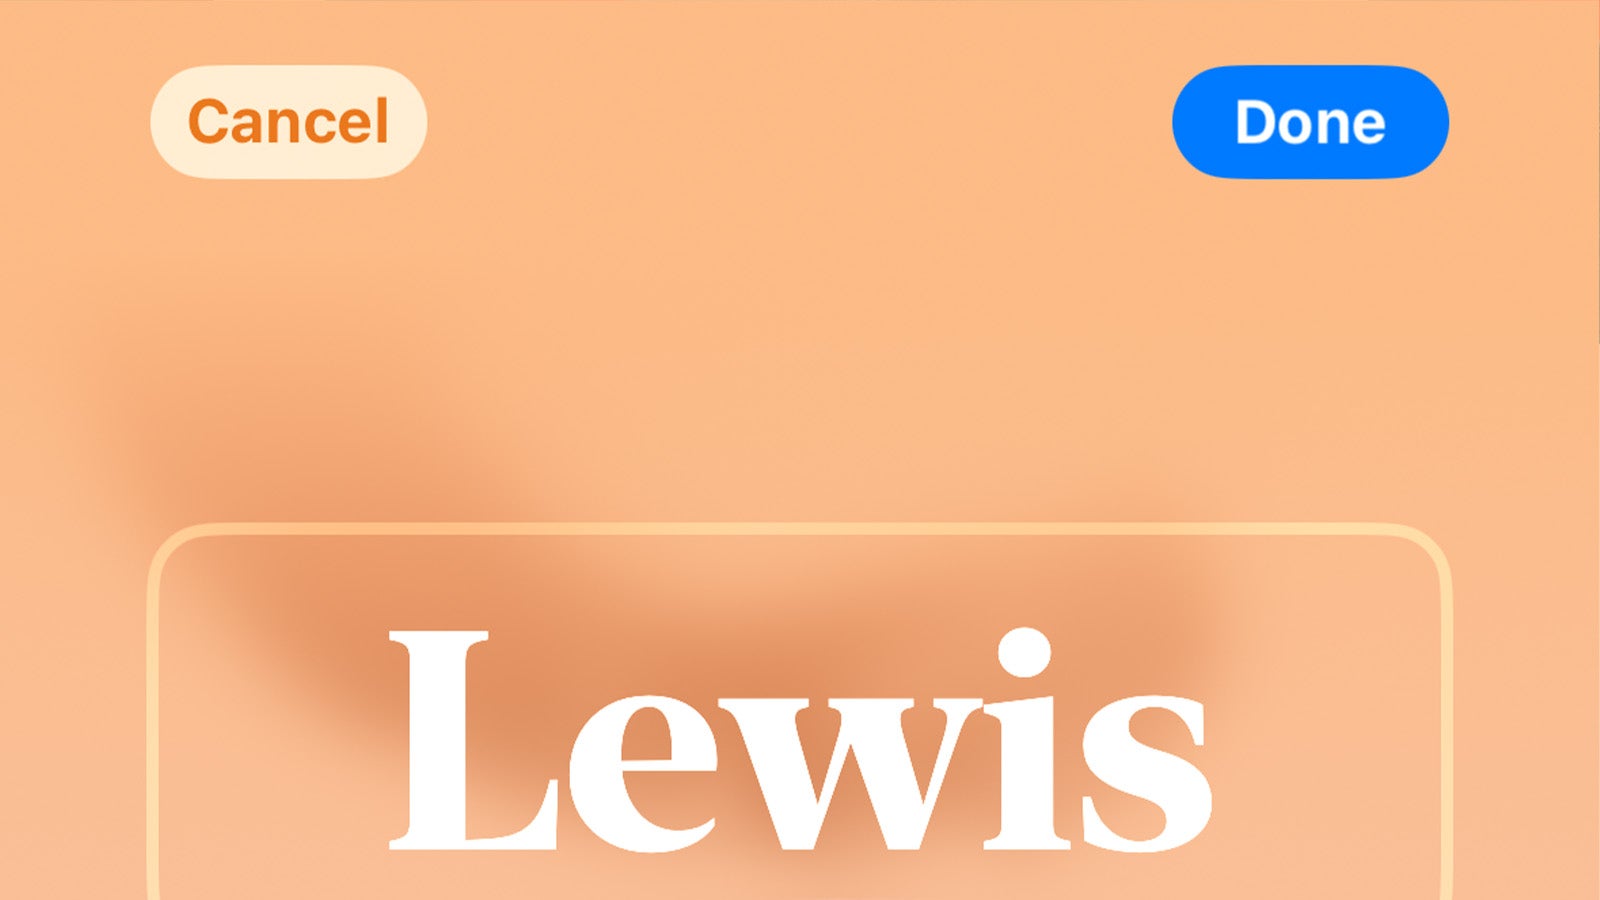
Once you’re happy with the look of your Contact Poster, tap Done in the top-right corner to save your changes.

-
Step
9Tap the new Contact Poster to select it
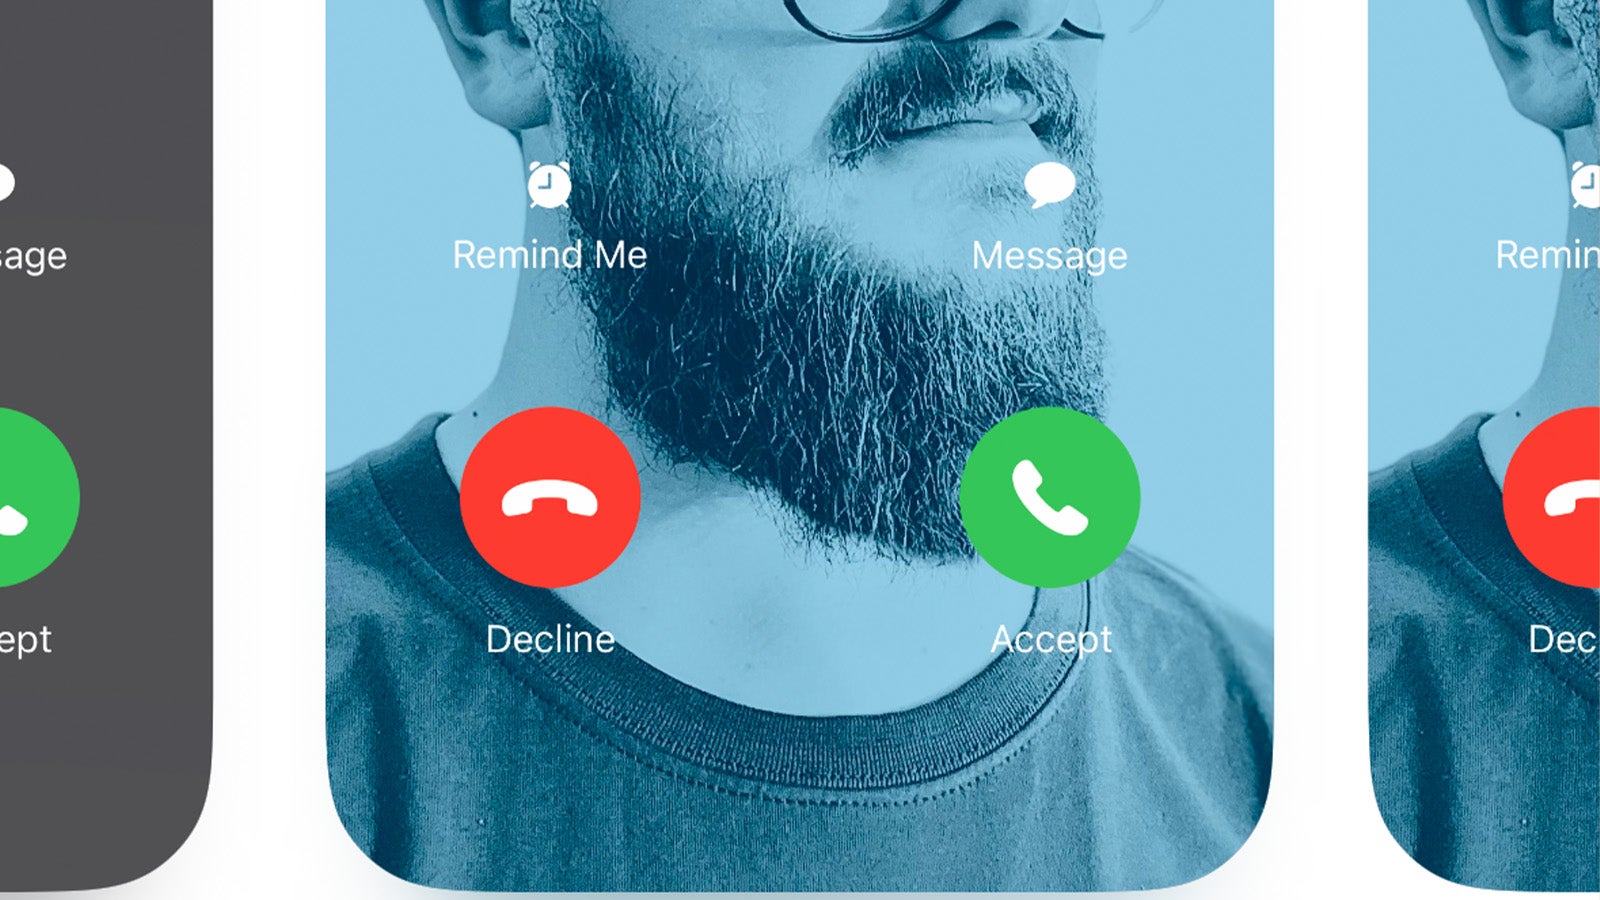
You’re almost there – simply tap the new Contact Poster you created to use it going forward.

FAQ
While most iOS 17 users will want to customise their own Contact Posters, what about those running older versions of iOS or those on Android? You can create your own Contact Poster on a per-app basis – just tap the contact in the Contacts app, tap Edit and follow the on-screen prompts to customise the look.
Yes, absolutely. You can change your privacy settings by going to Phone > Contacts tab > My Card > Contact Photo & Poster > Toggle on Name & Photo Sharing and selecting either Contacts Only or Always Ask, depending on your preferences.
Unfortunately not – only other iPhone users on iOS 17 will be able to see your Contact Poster when calling.


